
During the construction of my Modern Medallion, I was instructed to do a "wrap around border". Hmmmm..... After much huffing and puffing and trying to work out how to do it, I gave up! And I just did a regular border for the first one. But when it came to attaching my drunken geese border, I was determined to figure it out. So I thought I'd give you a very quick tutorial on how I did it.
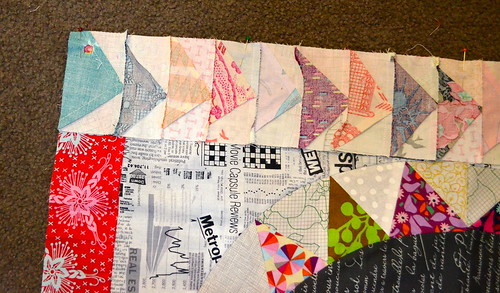
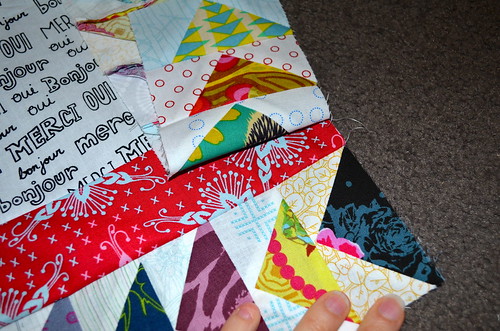
First thing to do is pin your first border on. Starting at the end you will begin sewing at. I'm not a big "pinner", so pin about every 10 inches or so.
Your border will be a few inches longer than your quilt top. You want to sew the border on all the way towards the end, but then stop a couple of inches before the end!
Fold back the border you've just sewn, exposing the next side of the quilt.
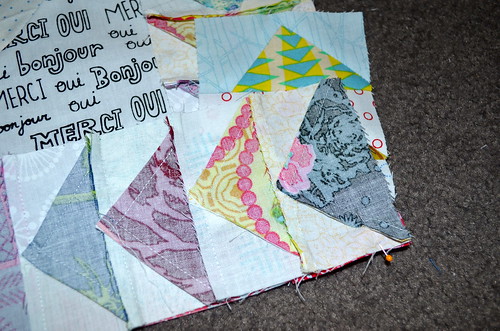
And pin your next border on.
Sew it on - the same as the last one, so leaving a couple of inches unsewn.
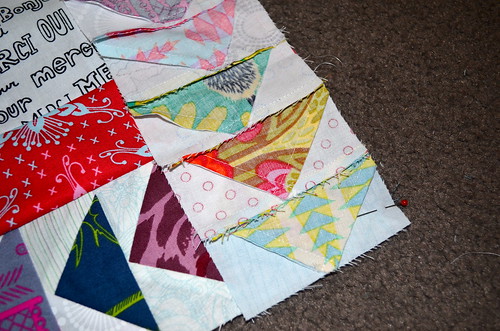
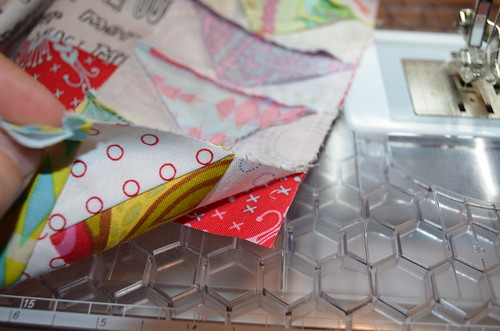
Then you take your first border and place it over the second border like above photo. Then sew the remaining few inches of that first border over the top of the second one! Continue this with all four borders.
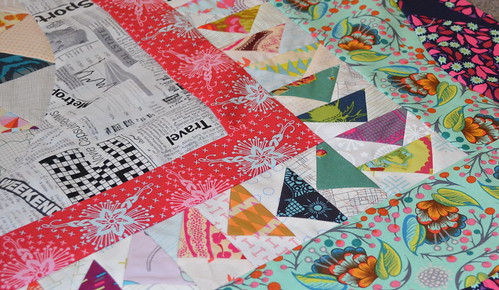
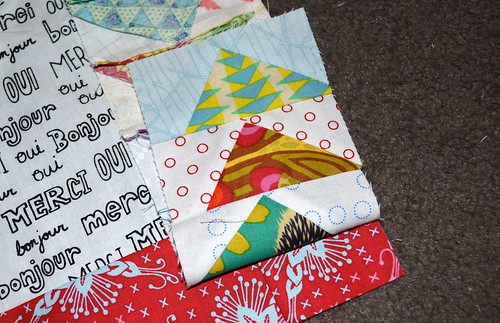
And press it down! Sneak peek here at my curvy border!
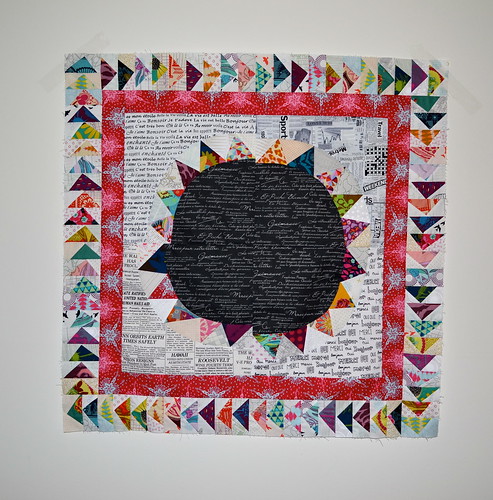
And hello!! You have a wrap around drunken geese border!
It's actually incredibly easy once you've wrapped your head around it! I hope you've found this helpful!
I finished my quilt top this afternoon.......and am hoping to have a big fat reveal here on Friday - so be sure to pop back in!
It is also a fun border when using a different color on each of the four sides. (I've used it, but didn't know what it was called--glad to know.)
ReplyDelete