Do you have special little people in your life - you know, the ones that you've basically made almost everything under the sun for? So that when it comes around to their birthday, you're left wondering what on earth to make? Well, that's where I found myself this week! My youngest God-daughter lives in Tokyo, and she has a multitude of handmade goodies, including cushions, wall hangings and clothing! I have a quilt in mind to make for her when she moves in to her big girl's bed, but the postage to Tokyo is a killer, so I'm hoping to get it done for Christmas, and hoping even more to make it over there to hand deliver it - but that's a whole other blog post!
Soooooo........yesterday I decided I would make a personalised placemat for her. Ummmm, how? I threw some questions to my homegals/guy over in QCA, and they gave me the encouragement to go forth with my idea. So I did.
I was so excited to get out my Heather Ross stash, and knew it would be super special, so thought I would take some photos in case I could make a tutorial from it. And well, what do you know - here's a tutorial!
WONKY POLAROID QUILTED PLACEMAT
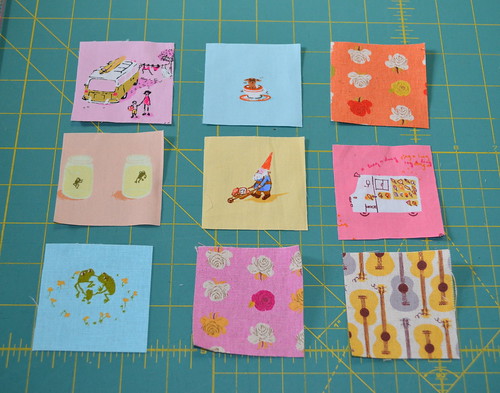
Find yourself nine fussy cut prints, and cut out 2.5" squares.
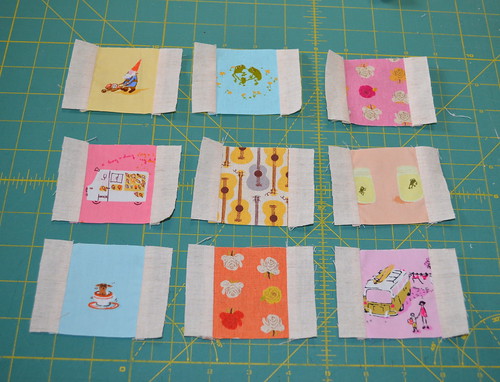
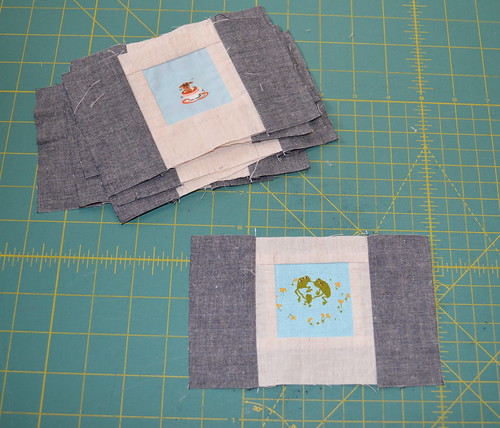
Cut out your side pieces at 1" x 2.5". You will need 18 of these. I have used a natural looking linen - sort of gives it an aged polaroid look! Sew them on with a 1/4" seam allowance and press.
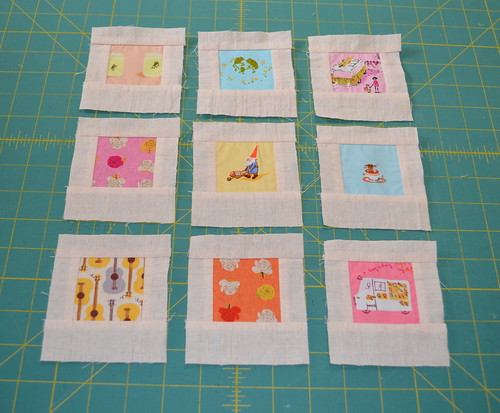
Next up, cut nine strips for the top at 1" x 3.5". And nine strips for the bottom at 1.5" x 3.5". Sew them on and press again. You will then have your little polaroid rectangles.
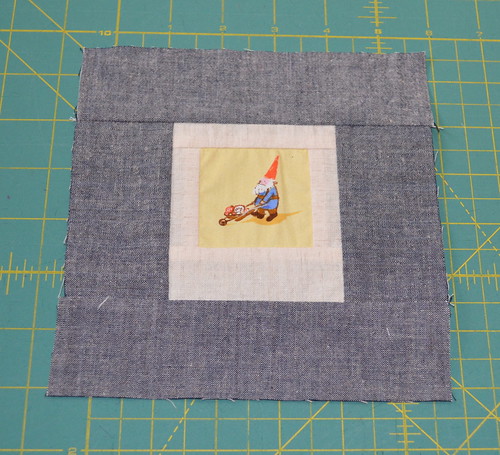
You now need a darker fabric for the framing of the polaroids. I have used a blue/charcoal linen. Cut out 18 strips at 2"x1.5" and sew on to the sides and press.
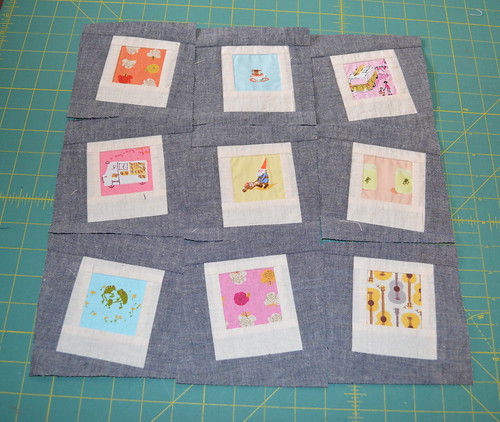
And 18 strips of 2"x7" for the top and bottom. Sew on and press. You will now have nine finished polaroid blocks.
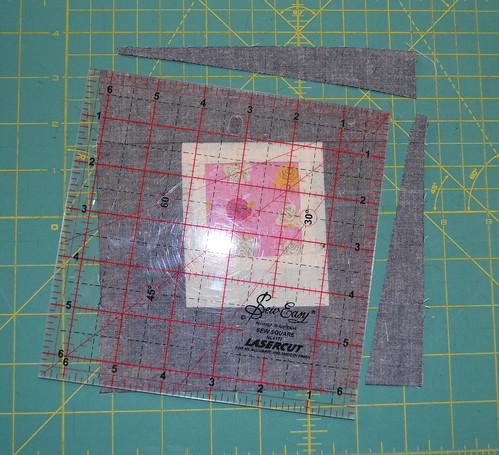
To make your blocks wonky, place your ruler (a square one is perfect) over the top of the block and then turn to one side as above. You want your wonky block to finish at 5" square, so when lining the ruler up, make sure you have at least 3/4" away from the polaroid on each of the sides. Trim.
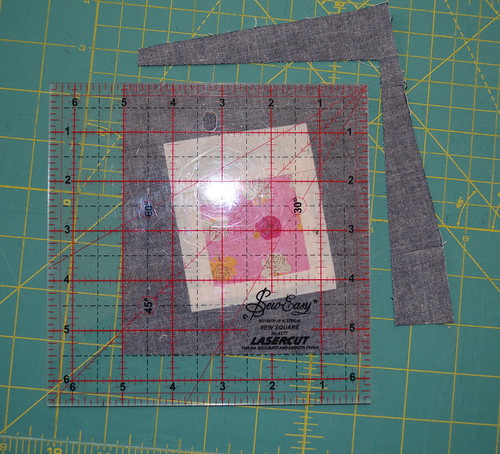
Then turn your block around and square it up with your ruler again. (Take no notice of the fact that I have it lined up at 5.5" above!!!!!! It should be 5"!). Trim again.
Alter the direction you turn your ruler, so your blocks are all kinds of wonky! Sew these nine blocks together.
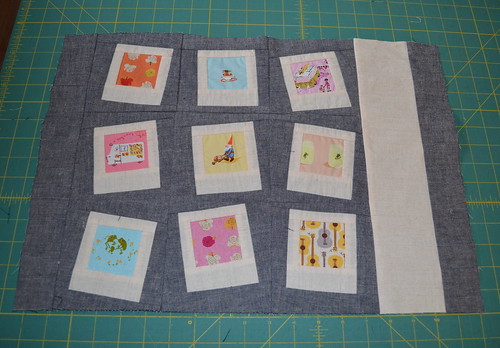
You can then begin to add strips of fabric for personalising. I chose to add a 2" strip to the left hand side, and then a cream strips 3.5" to the right, followed by another 1.5" strip of dark.
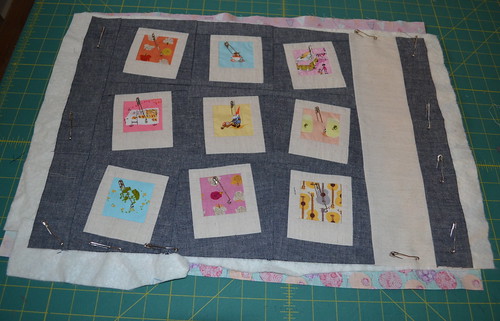
Make yourself a quilt sandwich and baste ready for quilting. And yes - I do have a batting jigsaw puzzle down there on the bottom! Use up scraps of your batting - you don't have to sew it together, just pin it down and the quilting will sort it out.
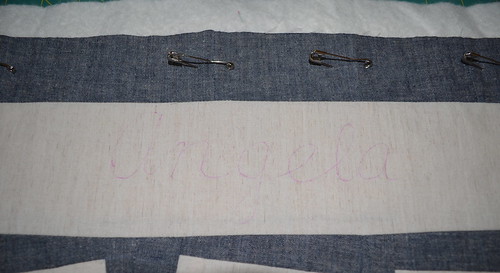
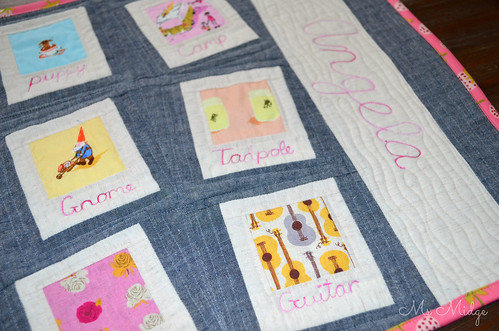
When doing large lettering on items, I sometimes use an erasable marker for an outline to follow. I know lots of clever quilting peeps who like to hand embroider, but you all know me by now yes? So it's free motion quilted lettering here!
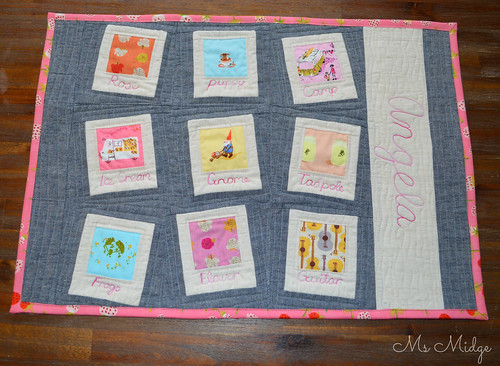
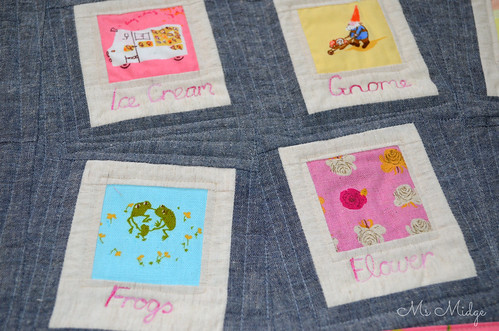
I chose a variegated Aurifil 40wt - Pink Taffy - for the words. I love how it looks! All of the little words under the polaroids are completely free handed. Hence, they are not perfectly centred. But it looks more like they have been written on. I also used a 50wt #2000, which is a beautiful cream/gold thread, for the outline of the fussy cut and the wavey lines through the cream linen.
It was suggested to me that placemats need to be quilted quite densely in order for them to sit flat enough. I chose #2610 Silver/grey and started outlining the blocks, and just kept going and going until I was certain there were enough to give it stability. I LOVE the end result!
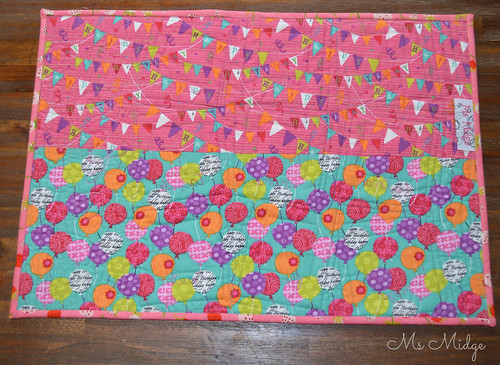
A couple of cute birthday prints on the back making it perfect to flip over for birthday celebrations! I completed it with a Briar Rose print for the binding.
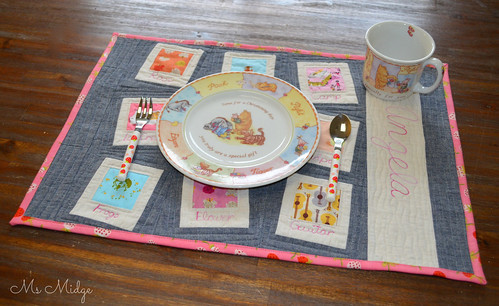
I'm pretty damn chuffed with the end result! The finished size is 19.5" x 13.5". As you can see - a great size for a little one.
I've used a cotton batting, you could add insulbrite if you were wanting to make them a little more heat resistant, however, for a three year old, I thought the odds of her having a burning hot meal were pretty low :)
So there you have it - a quick and easy gift! This took me a few hours to whip up!
I'm linking up - You can too!
I'm linking up - You can too!



SO CUTE! Love all your HR fussy cuts and wonky polaroids. Fab work on the free-motion-writing in pink! Angela will love it! x
ReplyDeleteI love this! I'm going to use this tutorial for new placemats for the whole family and maybe use those mini charm packs to make them! Thanks for the great tutorial. :-)
ReplyDeleteThis is just adorable, I'm defintiely going to be making some of these for my boys and as birthday gifts. Thanks for a really great tutorial.
ReplyDeleteNeat idea! Well done!
ReplyDeleteThis is just soooo cute. I adore the colour combination.
ReplyDeleteI still maintain that you made this for me and will be camped out beside my mailbox waiting for it to arrive. Thanks for linking up to the Fussy Cutters party! Love your work!
ReplyDelete