
Last year I joined a quilting bee - the QCA Bee #5 to be exact! I ummed and ahhed about whether to continue this year. I was a little disappointed with a couple of the blocks I received for my quilt, however, I really enjoyed getting to know other quilty peeps, and learning new techniques and challenging myself a little. So I stayed! Our bee was meant to be starting up again in February, but we had over half the members leave and a whole bunch of newbies join, and everyone keen to begin, so it's already started!
Cue panic stations. Not from the Queen bee for the month - Lisa - no, even with a newborn baby, she knew exactly which block she would like us to make her and posted the details within 24 hours! How's that for organised?!!?!? Her request? The Stamp Collection block, using THIS tutorial by Oh, Fransson! After being a little perplexed for a few minutes, I jumped in, went to Lincraft this morning and got interfacing and calico, and began just after lunch today.
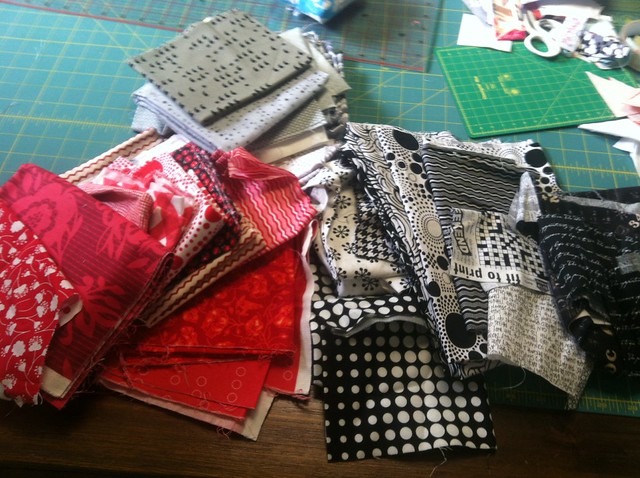
Lisa requested red, black and grey for the colour theme, and for it to be predominantly red. So I pulled all of those from my stash (excluding cutesy prints!) and got cutting.

The tutorial uses a technique I'd never even heard of, let alone tried. It directs you to use a piece of fabric (I used calico) and draw a 20" x 20" grid, with 2" squares. You then place a piece of lightweight interfacing over the top of it, and place your 2" squares on top of the grid like above. And you then take the iron to it! Now, I didn't think too much about it, and had to iron the fabric on to the interfacing whilst it was all like this on my cutting board! That was interesting……
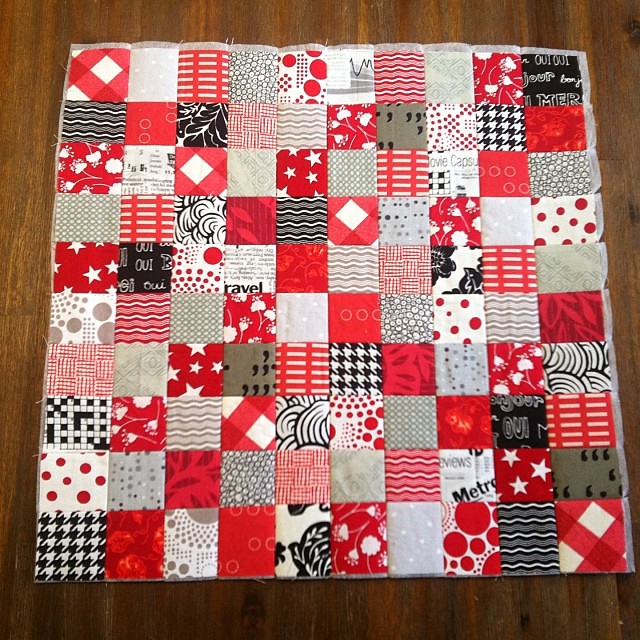
Three hours after beginning, I had this divine block! I was a tad frustrated after sewing the first lot of seams, as it was apparent that it would not end up being 15.5" finished block size as the tutorial states. I checked and double checked with the tutorial, and it didn't state to use a scant 1/4" seam allowance, but, if I were to do it again - I would!

And this is how ridiculously neat and tidy the back of this block ends up looking!
All in all, this was a really enjoyable block to make! The cutting of the 100 x 2" squares was a little tedious, but not overly hideous! I'm really looking forward to seeing the other 11 ladies' blocks! And I'm contemplating whether I will make this block again!
So there you have it - my first bee block finished for 2014!
I'm linking up with Sew Cute Tuesday - You can too!

That is a lovely block! Thanks for the tip on the tutorial. I will check it out!
ReplyDeleteEsther
Your block is beautiful! I'm curious whether you think it would have been easier to do this the traditional way?
ReplyDeleteI can't imagine cutting so many tiny squares, but it has come together so neatly :-)
ReplyDeleteI love your block . It came out so neatly. I've used this tutorial a few times. Love that you can make a slab of small squares look so perfect. Good luck with your new bee friends, hope it works out well this time. x. HappyGo Lizzie
ReplyDeleteWow, look at how neat that back is! I am going to have to check that tutorial out! Your block turned out quite lovely and I adore that color combination! :)
ReplyDeleteI am giving away a fat quarter bundle on my blog this week and would love for you to stop by and enter!
Inspiring Creations Giveaway!
I just made two blocks for Stash Bee that involved mini 9-patches so I hear you on all the cutting of little squares (I cut 90 2" squares). Lovely block!
ReplyDeleteKim @ TiesThatBindQuilting
This is so fun! I love it!!
ReplyDeleteThis comment has been removed by the author.
ReplyDeleteThis comment has been removed by the author.
ReplyDeleteYears ago, I bought some pre-marked light weight interfacing like that as I had a lot of 2" squares. Well, I loathed the technique with a passion. Apart from the fact that I hated the process, I don't like my test block - its too heavy with the interfacing in it. I have one test block which has flopped around ever since and a bundle of the interfacing, so if you want either, you are welcome to it!
ReplyDeleteLove it! ... although after MiL's quilt I'm sworn off 2" squares for the moment! PS I love that swirly-clam-shell-black-&-white print :)
ReplyDeleteIt looks great, well done.
ReplyDeleteWow that looked like hard work! Well done.... so lovely.
ReplyDeleteVery pretty block! The technique is interesting. I did something similar to make a teeny weeny pincushion once and it worked like a charm! Enjoy another year of bee blocks!
ReplyDeleteVery pretty block! The technique is interesting. I did something similar to make a teeny weeny pincushion once and it worked like a charm! Enjoy another year of bee blocks!
ReplyDeleteWow, that's an intense block! Kinda glad I left, lol!
ReplyDelete