This week has me economising, and as I showed you YESTERDAY, I'm making 9" blocks, opposed to the 5" paper pieced version by Red Pepper Quilts. As promised, I have a tutorial for you! And as usual, I have lots of photos to hopefully make it easy to follow.
Now I didn't make these measurements up! My tutorial is an adaptation of one I followed a couple of years ago by The Oz Material Girls - so thank you Louise! They have a charity FB page called "Do Your Block", gathering blocks from quilters and making them in to quilts to donate to people in need.
On to the tutorial......... These measurements make a 9.5" finished block - 9" when sewn together.
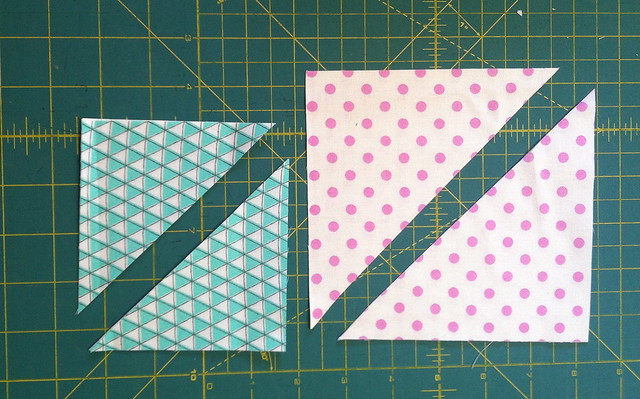
First things first, you need to choose your fabrics. You don't necessarily have to have "fussy cut" prints like I have chosen, you can get out your favourite prints and use them as centrepieces to highlight them. You will need a 5" centre square (fussy cut in this instance). 2 x 4" squares for inside triangles (green) and 2 x 5 3/8"(pink spot) squares for outer triangles.
Take your outer squares and cut diagonally to make the triangles.
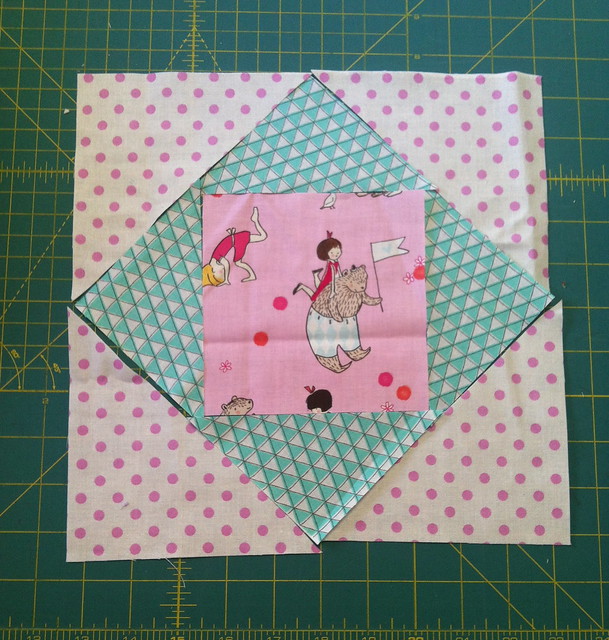
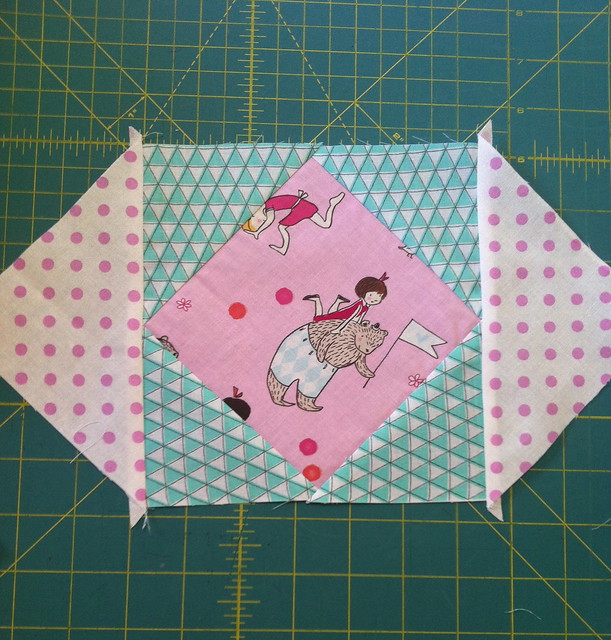
Lay your pieces out together to be sure you like the combination. This is especially important when you cut out a million squares/triangles at once ready to chain piece 12-24 blocks in a day! I ended up with some very interesting colour/pattern combinations that I would never normally have paired up together - but I must say, it has worked beautifully!
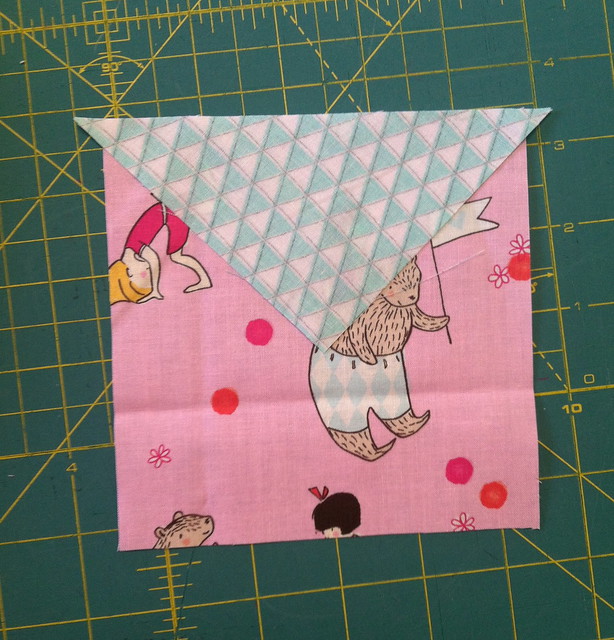
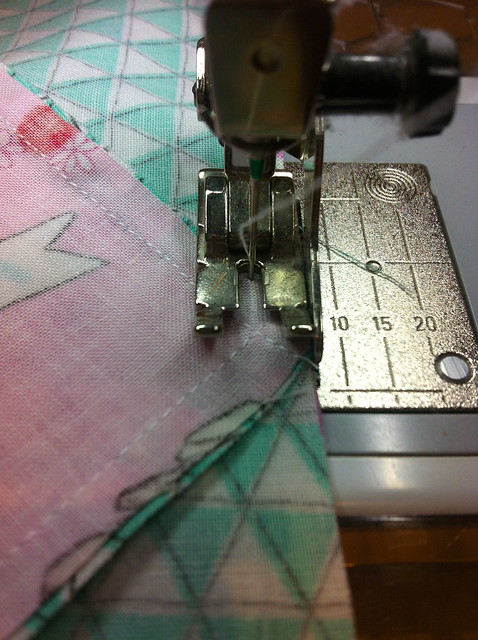
Take your 5" square and place one of the smaller triangles over one edge, centred. I have shown you above as an example, but as you will see throughout this tutorial, I sew all of the pieces with the triangle pieces on the bottom.
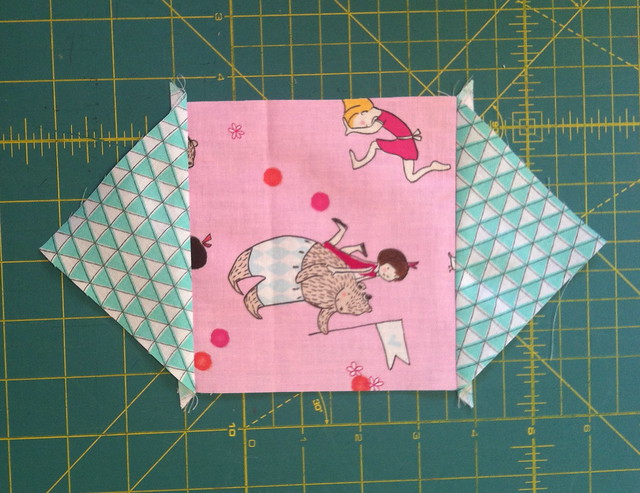
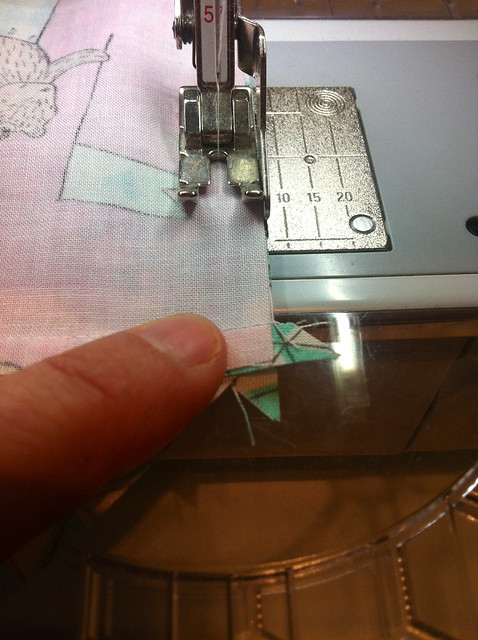
You will have two little "dogs ears" poking out on either side of your squares, when you start to sew them, you want them to almost line up with your 1/4" point - ie. my needle.
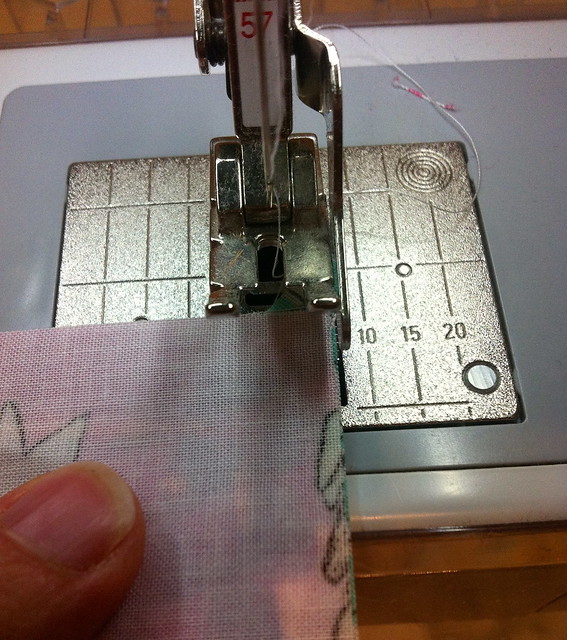
Sew right along the side, making sure you still have your little dogs ear sticking out at the other end. As you can see above, the needle/stitching finishes at the same/similar point to where the dogs ear is.
Repeat on the other side, so you end up with the above.
Press your triangle outwards.
Then repeat on the other two edges of your square.
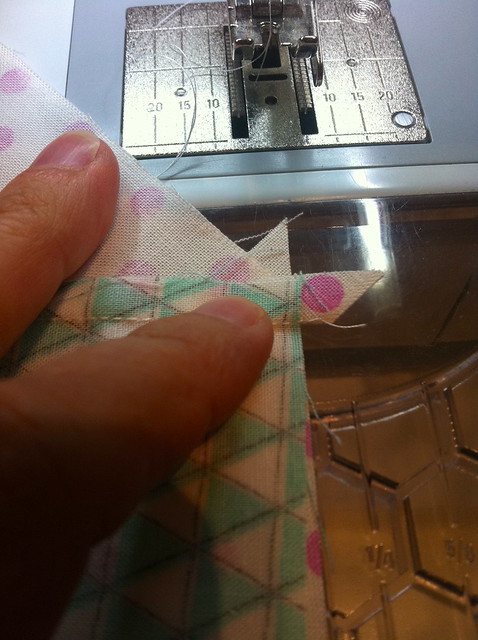
This time round you will have two dogs ears sticking out!
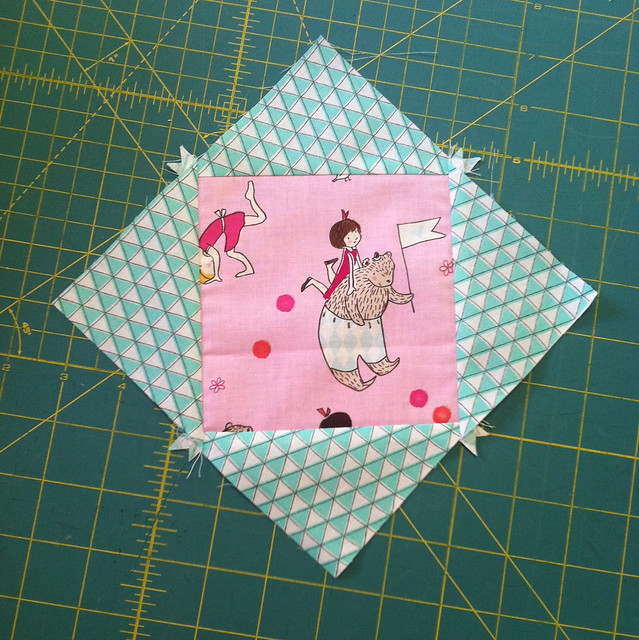
Press the triangles outwards again, and you should have a relatively square block. Trim off your dogs ears.........
But only trim back to the edge of the seam furtherest from your points.
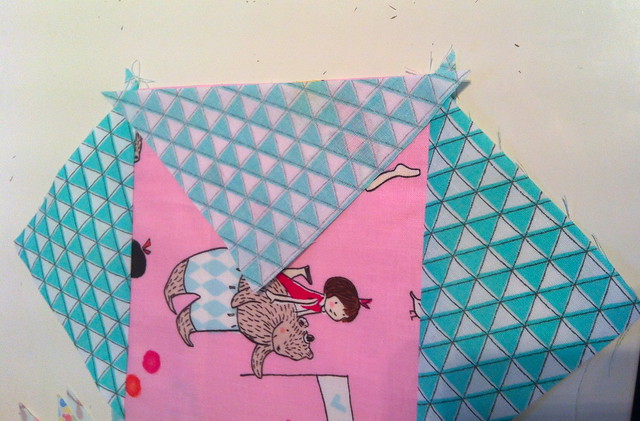
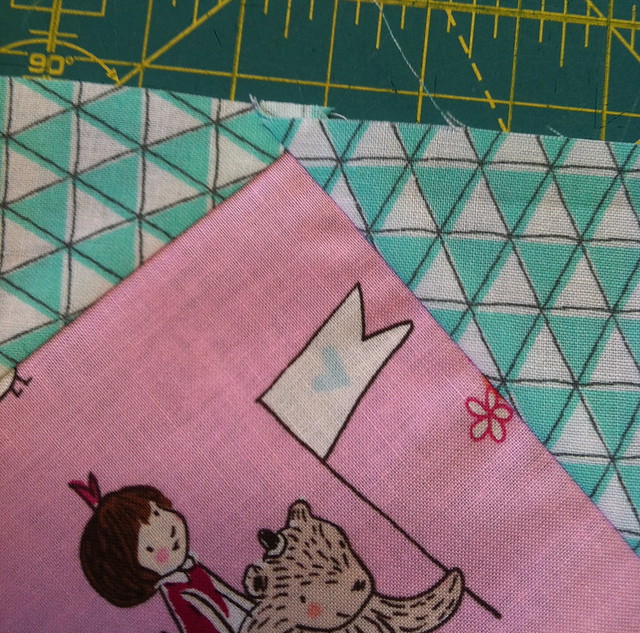
Because when you take your large triangles to join to this square block, you may have some uneven seams as above. Line up your triangle with dogs ears sticking out the sides again, and sew with your 1/4" seam.......
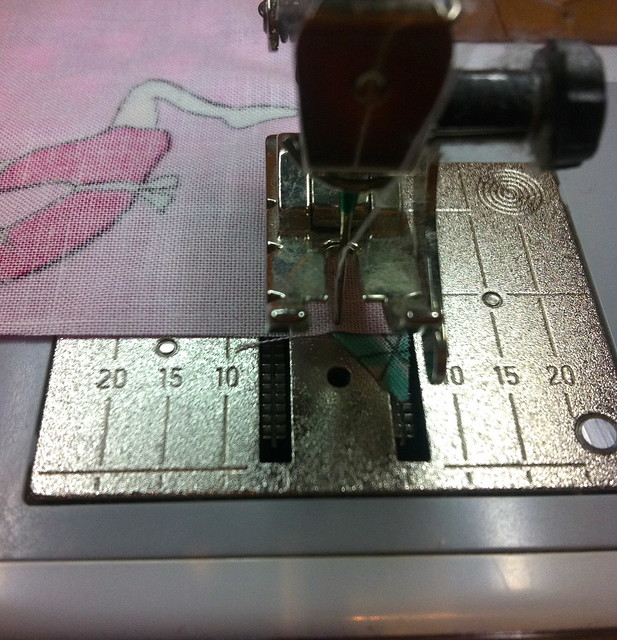
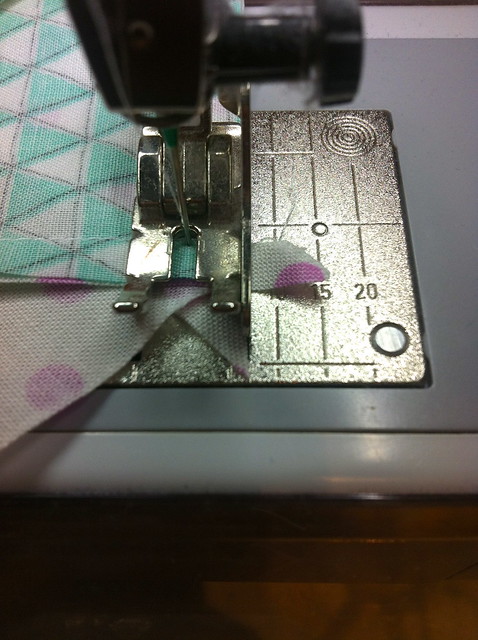
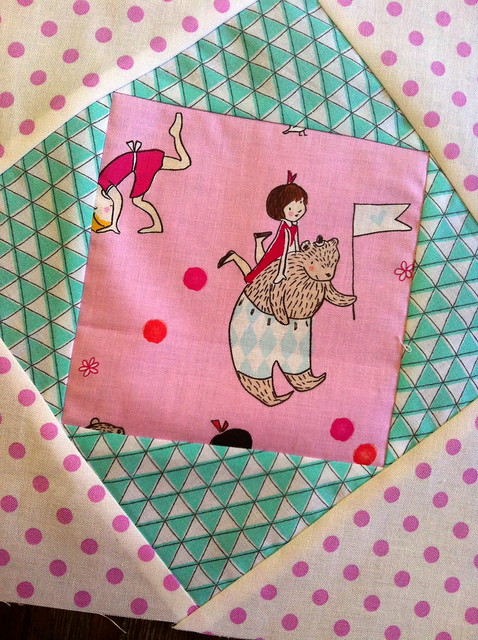
Take your time, and when you get to the intersection where your points are, make sure your needle is lined up just a smidge above the point intersection - as above. This is how you can ensure your fussy cut square will have four perfect little corners/points!
Repeat on the other side and press the triangles to the side.
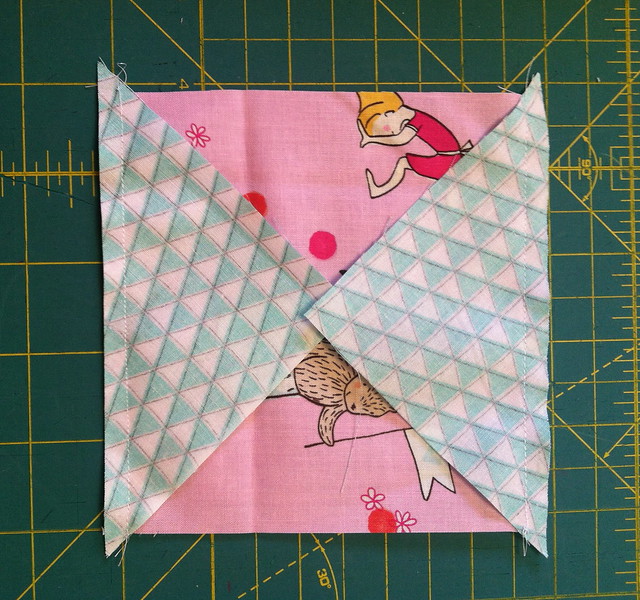
Now take your last two triangles and line them up as you did for the inner triangles.
And your last intersections!
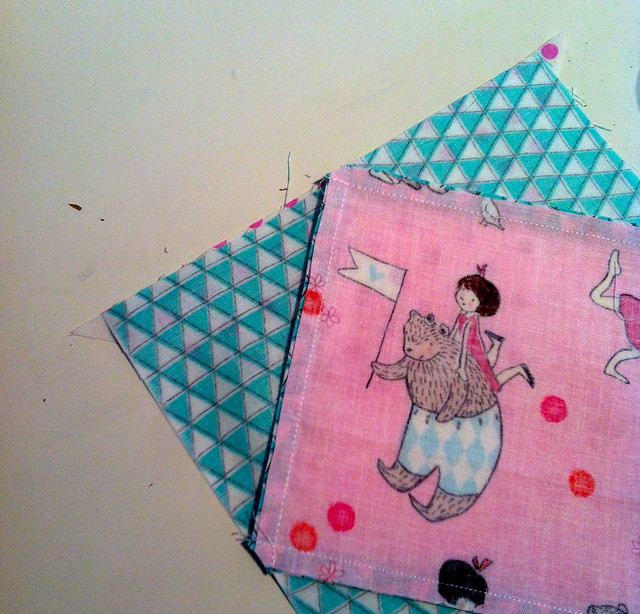
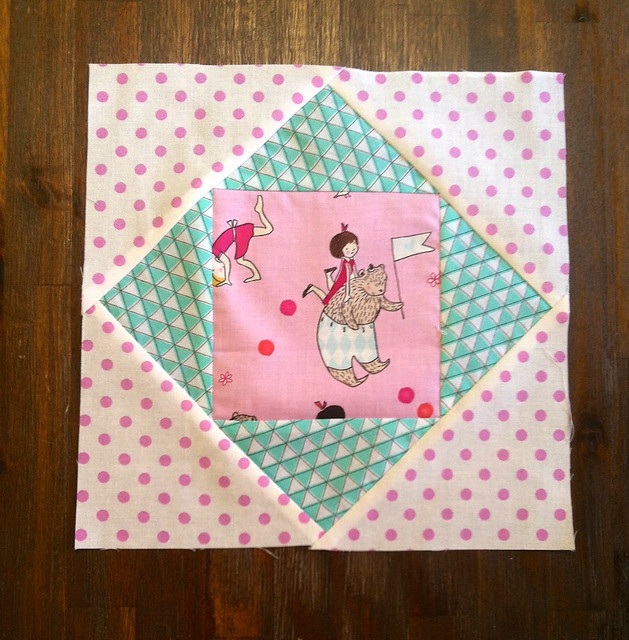
Press your final triangles outwards and you're finished! In theory, you should have a 1/4"to spare around your block, so that when you piece your blocks together, you will have your points intact from your inner triangles!
I really hope this makes sense! The most important part of constructing these blocks is having your points intact, and as you can see above, this block's points are fab! If you've been around long enough, you would know I am not a "nit-picker", and as long as the end result is good, it doesn't "really" matter how you got there! Miraculously, I've now made 30 of these blocks, and they are all almost perfectly measuring 9.5"! And I haven't lost a point on any of the squares - so if I can do it - anyone can!
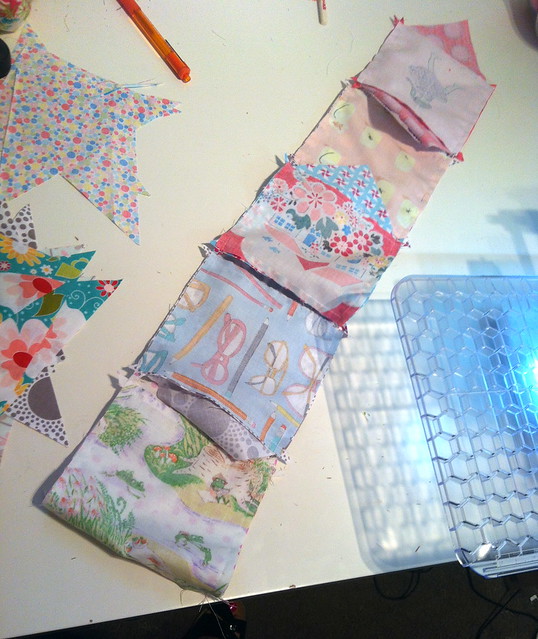
And just to show you - you can chain piece these blocks like there's no tomorrow!! Yesterday, I pieced 12 blocks at a time - I only had six left to do today, and this is how I rolled!


Love your blocks, and great tutorial. I did some the other week but paper pieced them and as I love big and fast they were also a very generous size ;) I dont do small and fiddly hahahahaha
ReplyDeleteThanks for the tutorial! Thanks for doing the math! LOL Will have to come back to this one, the list is SOO long at this point! :) Definitely want to try this block though!
ReplyDeletegreat tutorial. I will be coming back to it too!
ReplyDeleteThank you soooooo much for this tutorial. I loved the one Rita did but those blocks were just too doggone small for me! I love that his has a 5" center block to really show off those fabrics! (And someday I may make the smaller blocks too, but in this case, for me anyway, bigger really is better!)
ReplyDeleteGreat tutorial! Thank you so much for writing it! I know how much times goes doing these!!!
ReplyDeleteEsther
esthersipatchandquilt at yahoo dot com
Love this tutorial!! I too like my blocks bigger - the bigger the better! I love how they turn out.
ReplyDeleteLove these blocks! I like that yours are a little bigger:) 4-5" is just too small for me! I really want to try this.
ReplyDeleteThanks for the fabulous tute! It's so cute I can't wait to give it a whirl myself :)
ReplyDeleteGreat tute! I think that's a much more do-able size!
ReplyDeleteWhat cute blocks and a great tutorial. I like this size block too.
ReplyDeletethese blocks are so much fun, and I'm glad to see them in a bigger size. Great tutorial!
ReplyDeleteThank you so much for sharing at Needle and Thread Thursday!
:) Kelly @ My Quilt Infatuation
Hope you don't mind we are using this fabulous block tutorial for our April BOM at Aussie Quilts with Love to make our quilts for the Westmead Children's Hospital.
ReplyDelete