
Another week, another birthday party! My three youngest children are in the midst of a birthday party bonanza at present. And buying a million birthday presents for kids I barely know is not my idea of fun! So I've actually been making them all presents. This weekend's birthday girl is turning 12, and my daughter told me she likes Owls and purple. O. K. then.
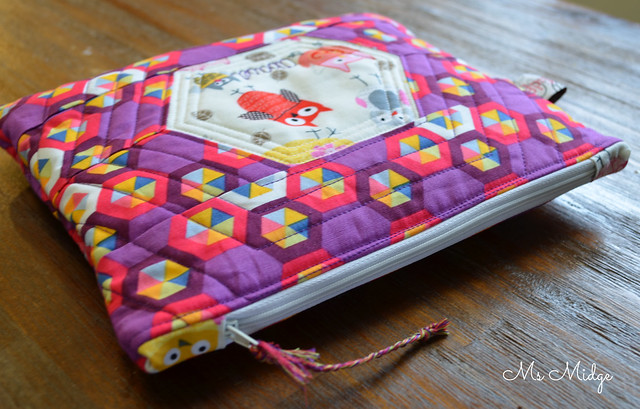
I popped in to Spotlight this morning for a few bits and pieces, and grabbed 20cm of a very cute owl print, and then remembered the amazing purple hexagon Saffron Craig print I picked up a couple of months ago - at SPOTLIGHT?!?!? What the! And this is what I made....
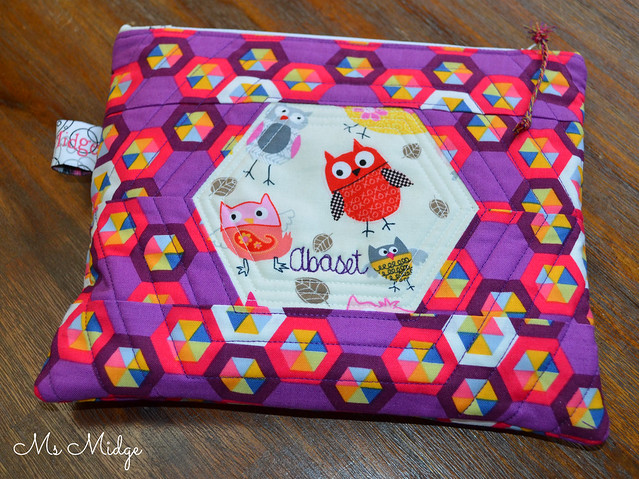
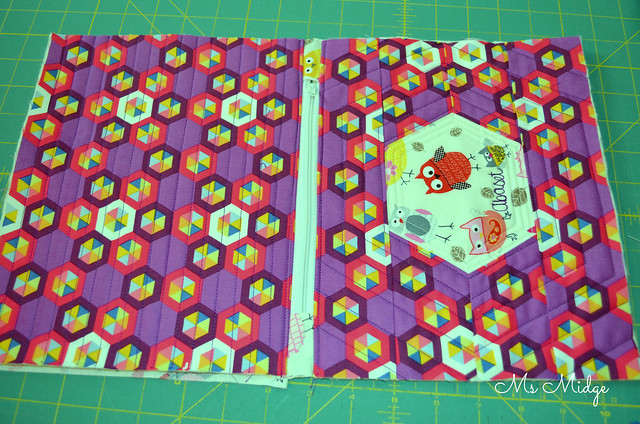
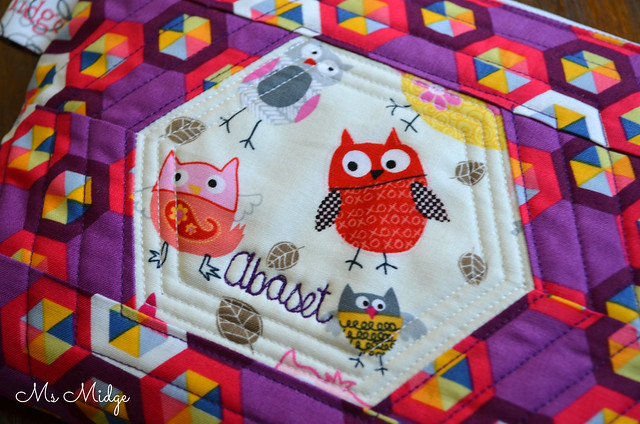
A very cute, VERY purple, personalised pouch. Now as you can see, the birthday girl has a slightly unusual name - Abaset. Odds are on that she doesn't get much personalised stuff in her life, so I thought it would be lovely to pop her name on it. I free motioned her name and fit it in amongst the owls. I used bright purple Aurifil #2545 and my trusty white #2420. The front and back panels are quilted to give the pouch some body. And would you believe that today I did my first ever Y Seam!?!?!? I wanted to use a hexagon, so headed to Youtube and found this great little video below.
Now - on to a little tutorial for you all.

What you will need:
2 x quilted panels. The size is completely up to you, but these are approximately 10.5" x 9". My zip is 9" and then you need 2 x Lining panels.
You will also need 2 little squares/rectangles on your coordinating fabric, as shown above, to cover the ends of your zip. Press a little seam length ways on your zip covers as seen below.
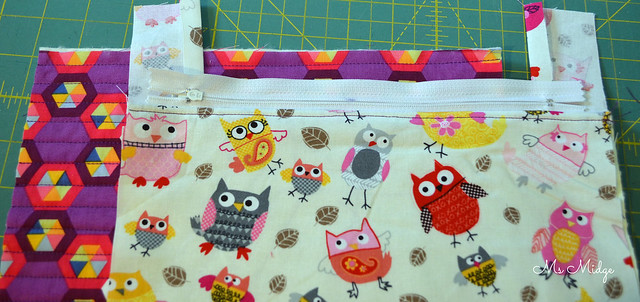
1. Take one panel, right side facing upwards. Centre your zipper length ways along the edge, with your little zip cover pieces at the ends. Then take a piece of lining and place over the top, right side facing downwards and pin all together.
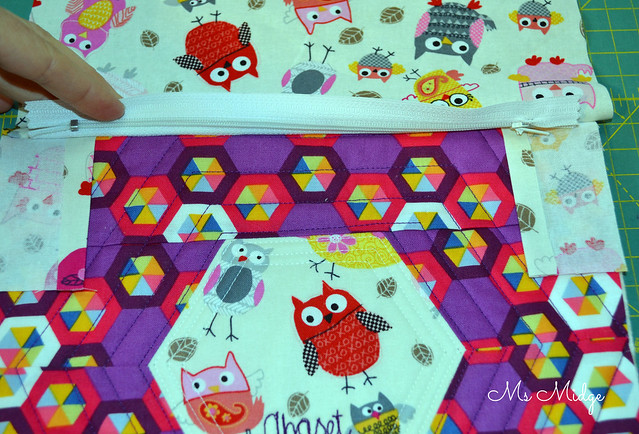
2. Using a zipper foot, sew along the edge to join all pieces together. It will look like the above photo when joined. Pull the lining back underneath so panels are wrong sides together and press. Top Stitch alongside the zipper.
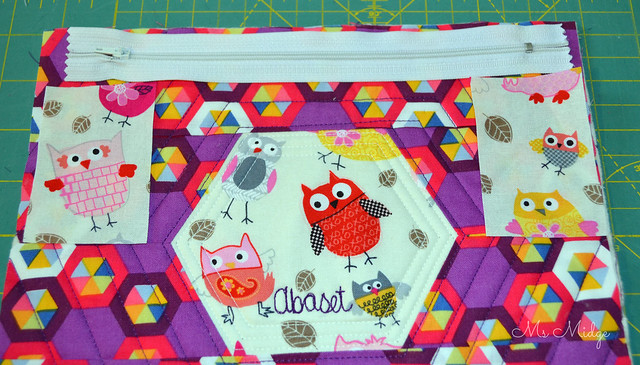
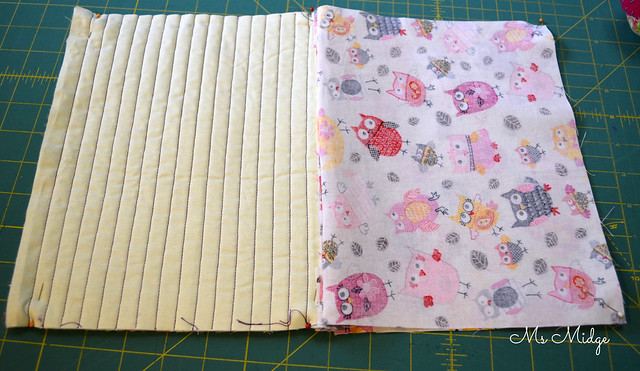
3. Take your second panel, and place right side upwards. Lay your first panel on top, right side down, aligning the edges of both pieces. Trim off your zipper covers. Place your second lining piece over the top and pin together, then sew together the same way you did previously.
4. Press and top stitch again. When you have done so, your will end up with a layout like above. Trim around to make everything neat and even in size.
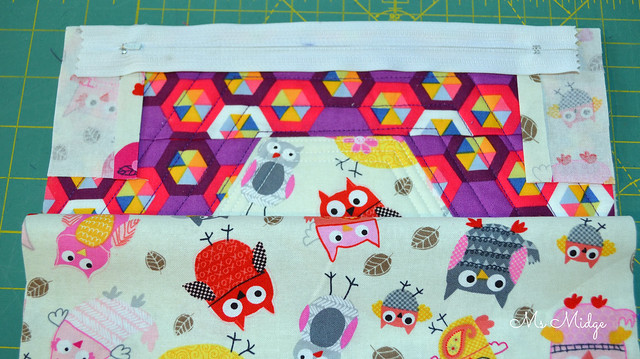
5. Open your zipper a few inches, then take both quilted panels right sides together, and both lining pieces right sides together. Pin them all around, leaving a 3" gap in the bottom of your lining pieces.
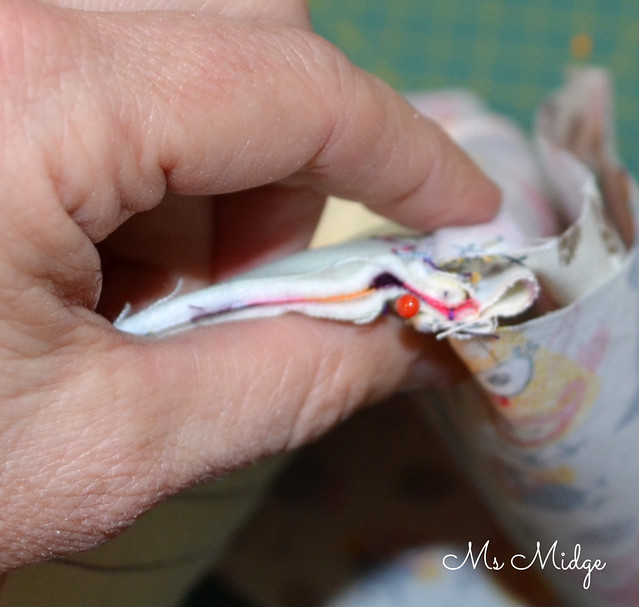
6. Line up the top seam of your quilted panels, and have the zipper cover folded up towards the lining as demonstrated above. Now sew all the way around, leaving the gap open at the bottom of the lining, backstitching on both sides. Trim all four corners. Reach through the gap in the lining and pull the pouch through, the right way out. To get your corners nice and neat, you can use a chopstick or something similar to push them out nicely. Pull your lining out and neatly machine sew the gap closed.
And you will have a delightful little gift! I plaited four shades of Aurifil thread to make a cute little zipper pull!
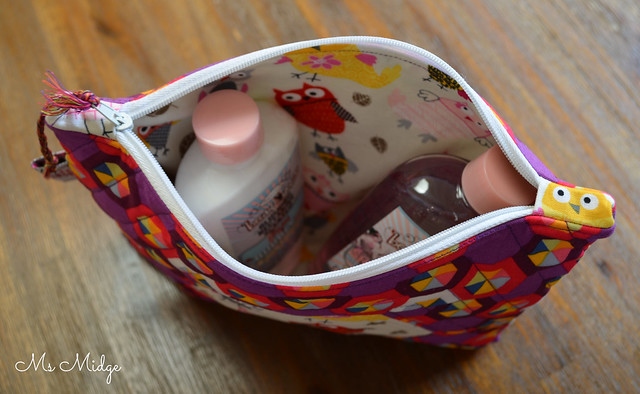
The best thing about these pouches is you can fill them with whatever you like! I asked my daughter when she got home whether she'd like to put beauty products, lollies or pencils etc in it? She chose the smelly stuff!
I have made a tonne of pouches, so I hope this helps you out for some fun little gifts in future!
I'm linking up - You can too!
I'm linking up - You can too!

Love it, Pinned it!
ReplyDeleteHow cute!
ReplyDeleteGtear tute, definitely going to try it, thanks! :)
D'oh! ~ that's *GREAT* :D
DeleteThat's adorable!! And wow, I thought MY name was bad enough never getting anything personalised!!
ReplyDeleteOh my, this is super cute! That fabric seems perfect for a 12 yr old girl.
ReplyDeleteLove that Saffron Craig print - better go in and buy some before it sells out. I missed the 30% off storewide :( LOVE the pouch!
ReplyDeleteLooks great!
ReplyDelete