Showing posts with label AMH. Show all posts

Sunday, January 11, 2015

Anna Maria Horner Aussie Charm Swap OPEN!

amhswap


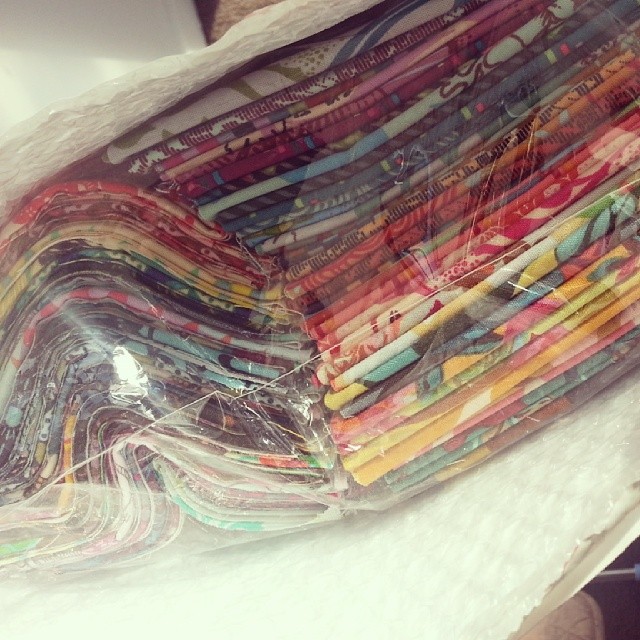
The sign ups are now officially open for the Anna Maria Horner Aussie Charm Swap!  Anna Maria has some of my favourite fabrics and I think 112 of her fabrics mixed together will be quite simply - amazing!

Here are the details:

1) FIRST IN, BEST DRESSED!  This swap will be open to 56 participants, me being one of those!  You HAVE to email me to obtain a spot.  Your spot is not confirmed until you have received a return email from me! All of AMH's QUILTING COTTON fabric lines except for the SOLIDS can be included. The included lines are listed below.

2) Each spot is 2 AMH fabrics, 1 yard of each, and I strongly suggest that you purchase at least 1/4 yard more in case of any cutting mistakes you might experience.  Better safe than sorry.

3) Fabric must be new and unwashed and from a smoke free environment.

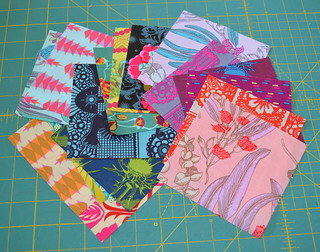
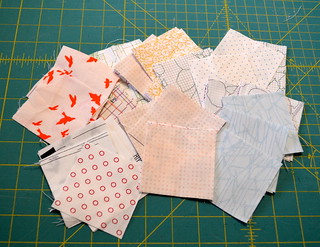
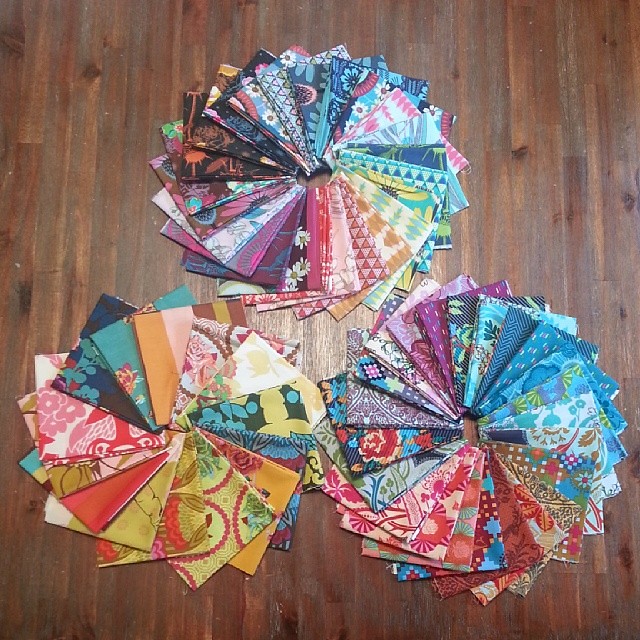
4) Press your fabric and remove the selvages before cutting. Cut your yardage into 5 inch squares (56 per yard) total = 112 charms. You can follow the great tutorial on how to cut your charms from yardage by Elizabeth Hartman of Oh, Frannson! found here.  Please sort your charms in to pairs, as demonstrated in this photo:


5) Post them out to me by 31ST OF JANUARY. Put them in a Ziplock bag and include your 112 charms, an index card with your name, mailing address and email address (in case your package opens up, your charms will stay safe and dry and your contact info will get them back to you. You must post them to me using a PRE-PAID SATCHEL.  You must also include a SELF ADDRESSED PRE-PAID SATCHEL so that your charms can be mailed back to you. Unfortunately due to the cost and complexity of shipping back internationally, this swap will be for Australian/Kiwi participants only.  Kiwi participants will be required to send a return shipping satchel, and will be invoiced via Paypal for return postage.
  Once I receive them all I will sort and return a stack of 112 different charms to each participant! You can sign up for ONE SPOT, however, if there are spots remaining after a few days, I will open up those remaining spots to existing swap members.  They will be in the mail to you 2-3 weeks later. I will be aiming to have them all in the return post by end of January/start of February - fingers crossed!

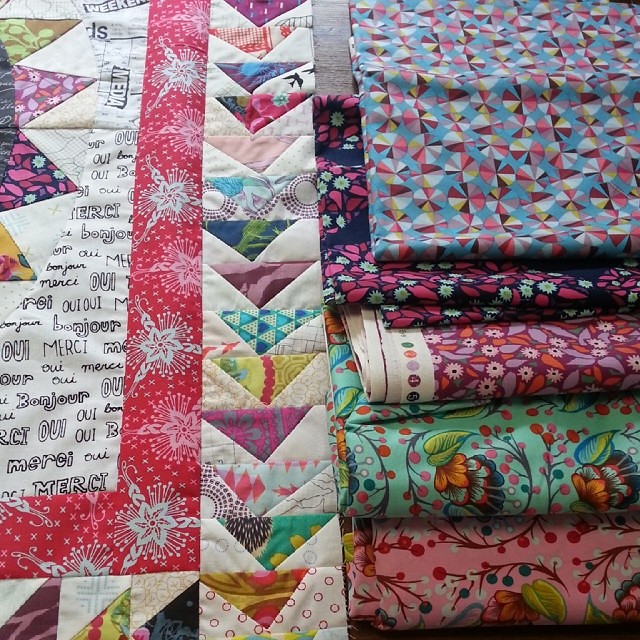
6) Very important!!! Please choose fabrics that have not been claimed by another swap member. Please join the MS MIDGE AUSSIE CHARM SWAP FACEBOOK GROUP - Once you have had your spot CONFIRMED, then check in the FB photo album before purchasing fabrics to see what has already been chosen; we want to avoid duplicates. Once you have chosen your fabrics please post pictures, with the Fabric line and specific print/colour information to the Facebook group Photo Album.  Once you've chosen your fabrics make sure you add the photos AND include the name/description of them.

7.  There is a $5 fee per swap spot.  This is to be paid via Paypal, once your spot is confirmed.  
So who wants to join in on the Anna Maria Horner fabric fun?
Your Name
Mailing Address
Email Address
Phone Number (just in case)
Blog address (if you have one)

When I email you and confirm that you are in the swap, I will include my postal address and Paypal information.

Here are all the Anna Maria Horner fabric lines that are included in this swap. Remember, no SOLIDS fabrics. Some of the older lines are a bit hard to find, but Google is your friend!  I have popped a little old blog button down the bottom of the post if you'd like to add it to your social media!


Ms Midge

Tuesday, September 9, 2014

Sew Cute Tuesday - Handmade Swaps

I've been remarkably busy this past week, and amongst the busy-ness, I've managed to get quite a few sewing projects finished!  I am in a number of handmade swaps and keep trying to come up with new projects I haven't made before so that not only am I learning something new, but my swap partner/gift recipient is receiving something original!
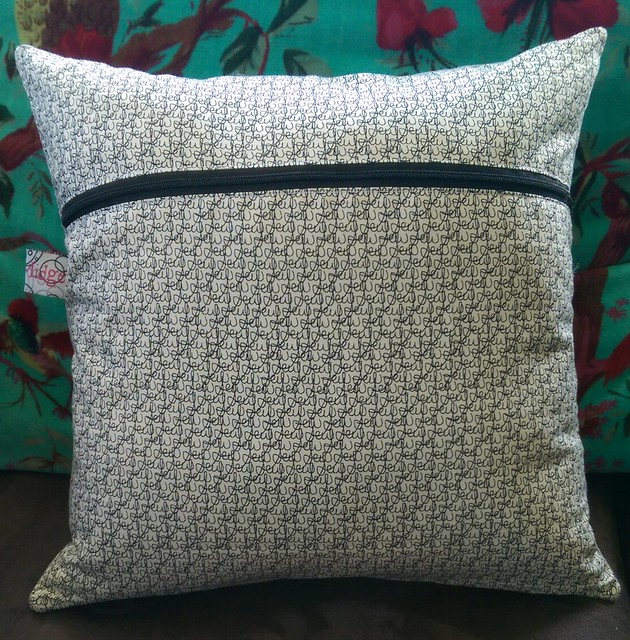
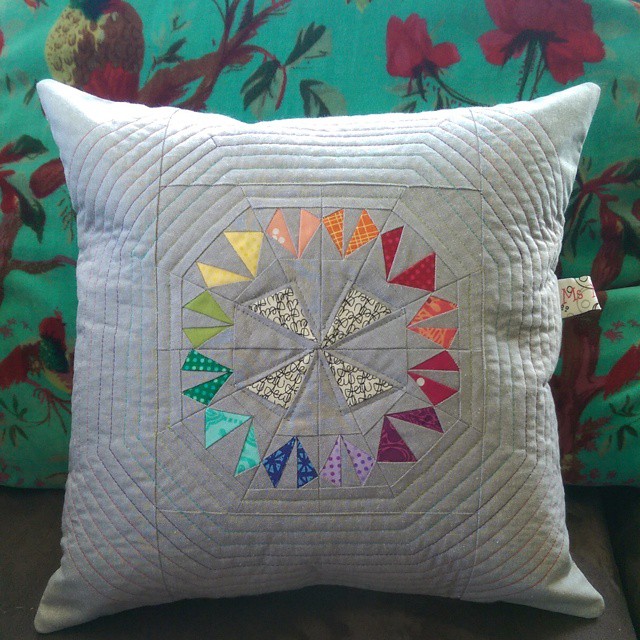
Last Friday's finish is this gorgeous little cushion.....

Finished! My little 7" version of the #repository block by @goodgollyginger is heading off in the post today! Rainbow of sorts with rainbow #aurifil quilting! #paperpieced

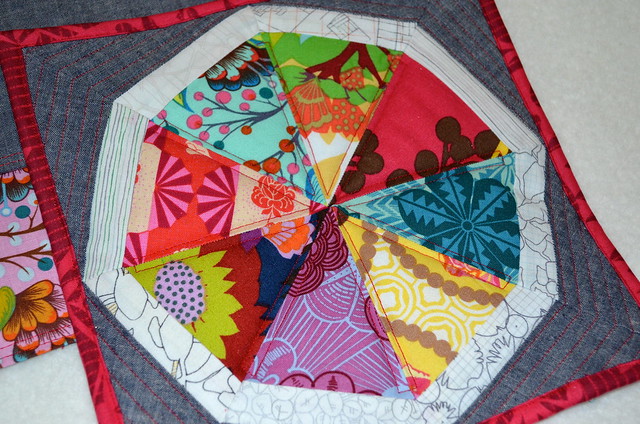
It WAS going to be a pin cushion, but even though I reduced the size of the pattern by 50%, 7" was still a bit big for a pin cushion!  So it became a gorgeous little mini cushion.  I used the Repository pattern from Good Golly Ginger.  I've had it downloaded for some time, and printed out regular size, but thought it would be cute in miniature - and I was right!  Lots of bright scraps used for the rainbow theme, and mixed with some Peppered Cotton

IMG_20140905_141948_1

I used one of my beloved Black and White text prints for the backing with an exposed zip - my favourite kind of zip finish at present!

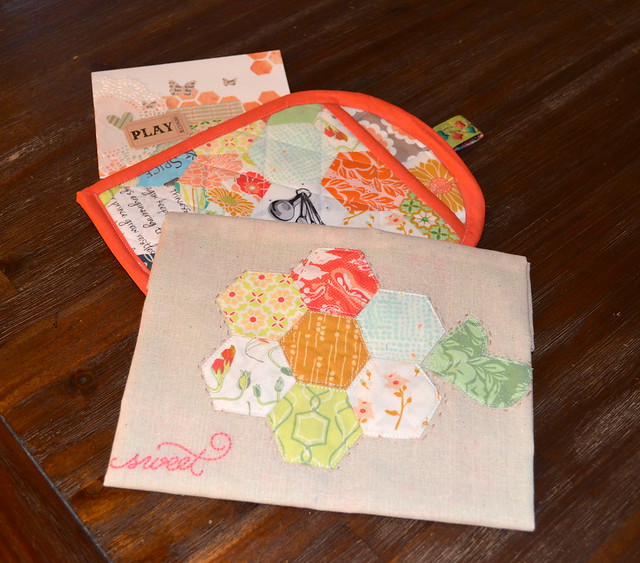
For my second trick, I made a trip to Spotlight this morning for some Insulbrite.  Insul-what?  The crinkly stuff you put in projects to make them heat proof.  You see, when I read Make Modern Magazine last week, I was very excited to see that Gina from Party of Eight had done a tutorial for her fabulous pot holder and tea towel sets!  (yes, I am easily excited some may say!)

DSC_0366

I was lucky enough to receive one of these sets from Gina for my birthday in April, and was keen to make a set myself.  So I did....

Kitchen Gift Set from Make Modern Tutorial

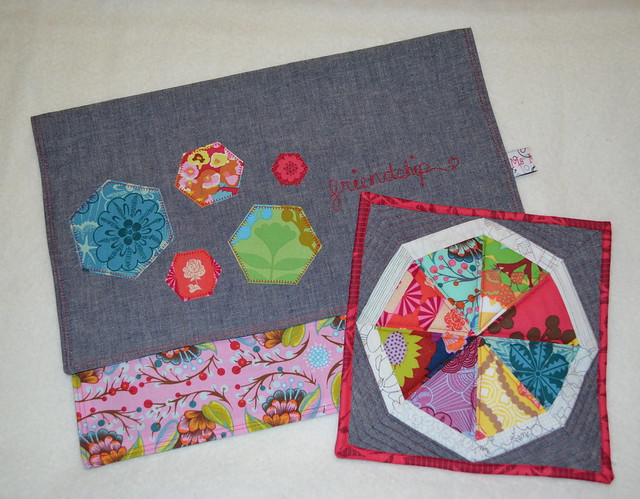
And I am pretty damn pleased with myself!  I pulled out a bunch of Anna Maria Horner prints and some dark linen, then went to town!  You can find all the details of how to make this set, and the printable paper piecing pattern in this month's issue of Make Modern.

Kitchen Gift Set from Make Modern Tutorial

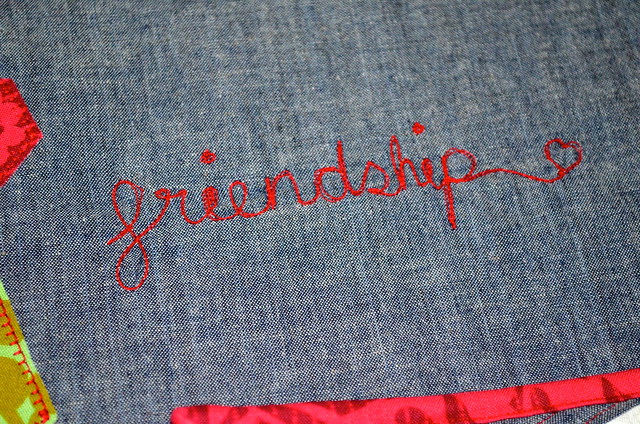
Now Gina is fabulous at hand sewing.  Me?  Not so much.  I prefer to use my machine for everything I can possibly get away with.  Which meant I used my FMQ to embroider "friendship" on the tea towel.  I used a 40wt Aurifil thread in the most divine shade of red.  You can't see in this photo, but there was a bit of pulling/tension in the fabric after I'd finished, so I think next time (yeh, guess what everyone's getting for Christmas??) I'll use some tear-away/stabilizer on the back.

Kitchen Gift Set from Make Modern Tutorial

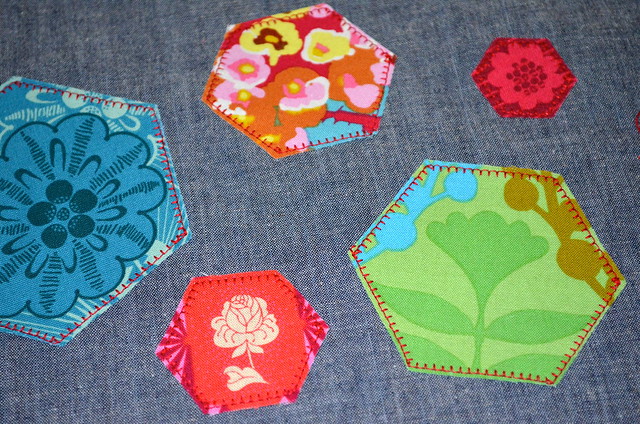
I cut out some little hexagon templates and cut one in each size, with a little bit of fussy cutting happening!  Vlisoflex and Blanket stitching on the machine holds in all in place.

Kitchen Gift Set from Make Modern Tutorial

I love how the pot holder has turned out!  It was a little bulky to quilt, but definitely do-able!

And that, my friends, is a Sew Cute Tuesday wrap!  That's two handmade swaps out of the way, only five gazillion to go!

I'm linking up - You can too!

Sew Cute Tuesday

Friday, June 13, 2014

Modern Medallion Finish!

It is my day to wrap up this week on the Modern Medallion Quilt Along.  I got it stuck in my head a week or so ago that I would get it finished to show you all - and I meant, you know, a quilt top.  BUT - my "focus" (as my Wombat Stew friends so graciously call it) kicked in yesterday, and I put in a marathon effort.  I had it basted by lunchtime, and then put my foot down at 12.30pm.  Quilted by 5.15pm (bloody basketball training) and then did the binding at 10pm!  

I am SOOOOO absolutely thrilled with the end result, and am so glad that I took this project on.  I was really questioning my sanity on the first day - and many days through the process - but it has taught me a lot about my quilty self.  Firstly - I am not really an "improv" kinda gal.  I'm also not a "wonky" chick.  BUT - I am adaptable!

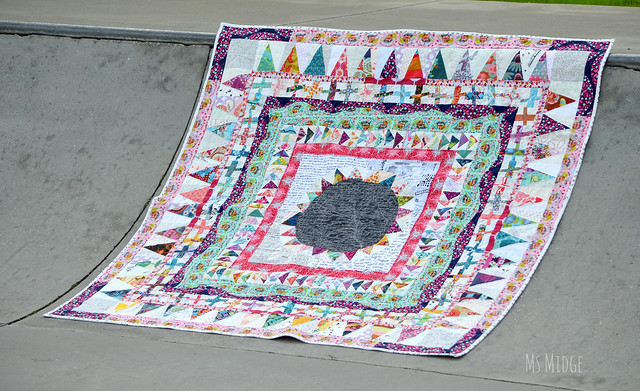
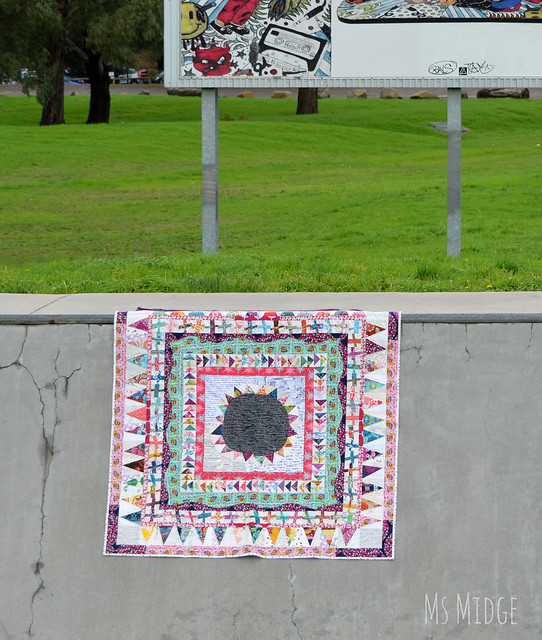
Without further ado, here my lovely friends, is my Modern Medallion Quilt - Anna Maria Horner style...

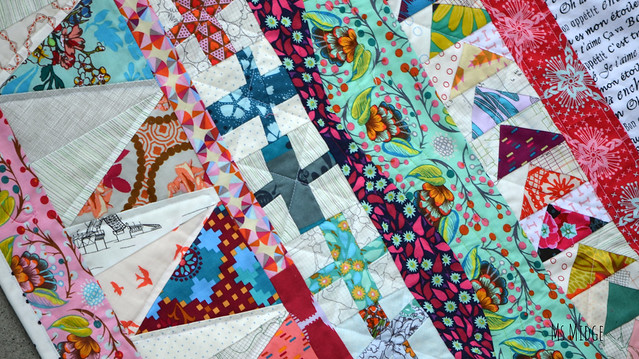
Modern Medallion

Isn't she beautiful?  ALL of the prints are Anna Maria Horner.  I think there are six fabric collections in total used.  And a good majority of the low volume prints are from Carolyn Friedlander's Architextures and Botanics ranges.  The finished size is 66" or 167cm square.  Backing fabric from Ikea & Field Study by AMH.  All pieced and quilted using Aurifil threads.

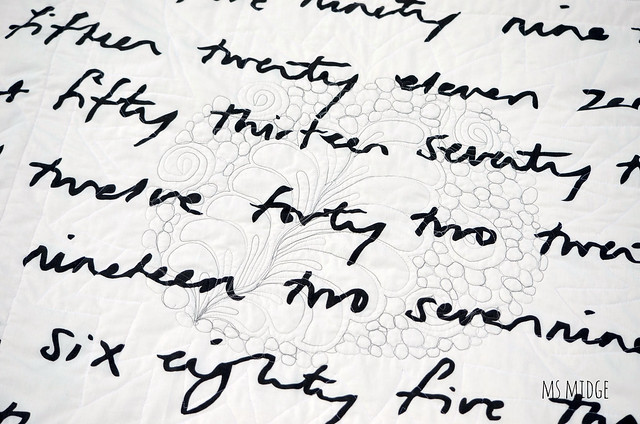
Modern Medallion 

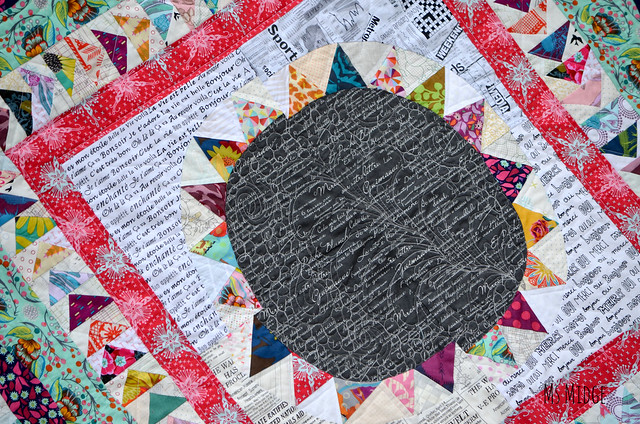
As per usual, I had no idea how I was going to quilt it, until the time came to quilt it.  I quite literally basted it all over the show, with no purpose other than to keep it together.  Then I rolled it up and sat at my machine.  And started with the centre medallion.  I used a beautiful variegated grey Aurifil 40wt thread, which you obviously can't see here, but will see later down the photo call.  One giant feather (well my feathers still look a bit like palm prongs!) and lots of little pebbles with swirls.  I will tell you now, it is FAR from perfect, but given the size of this giant, I tried my hardest to go slowly and to persevere.  I was NOT giving up on my FMQ dreams for this little lady.

On the outer points of the NYB triangles, I changed to my favourite #2024 white thread and free motioned straight-ish lines.  I've never FMQ'd straight-ish lines, but thought given the improv-ness (is that even a word!?!?) of the quilt, it would fit in well.  And it does!

Modern Medallion

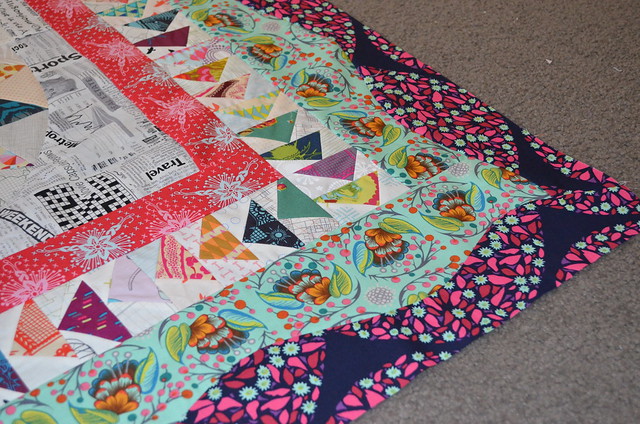
Each border has a different quilting finish.  The red border has straight lines, wonky geese have a giant zip-zag.  My curved borders are divine.  The green has a yummy bright green Aurifil, echoing the curves.  And the blue has a hot pink doing the same.  It's much more fabulous from the back!  The wonky crosses got some cross-hatched action and the triangles, some more FMQ straight-ish lines.  And last but not least, the outside border is done using a variegated pink Aurifil, with some swirls.

Modern Medallion 

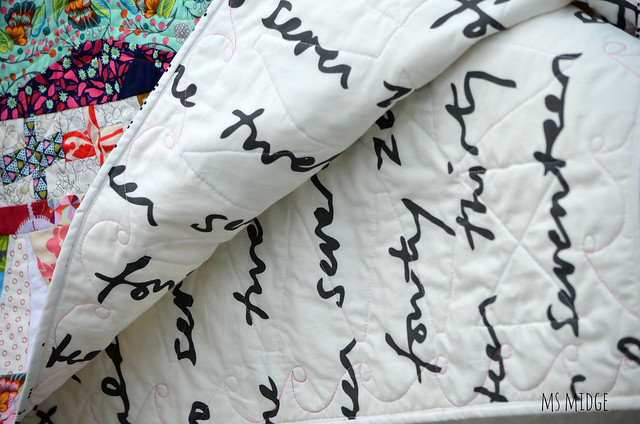
A little close up of the quilting on the back.  As I said - far from perfect, but imperfectly perfect in my eyes.

Modern Medallion

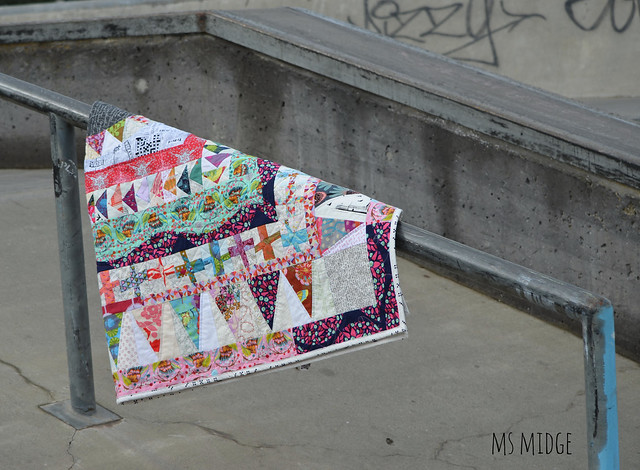
Just hanging around.....  I loved photographing this!  I stopped at the local skate park - lunchtime Friday - and there was a lone teenager sullenly watching me climbing up and down skate bowls and ramps in a dress, tights and boots!  I just kept wondering why he wasn't at school.....  Anyway - the binding......  I had another AMH print pencilled in for the binding, but when I asked my husband last night what he thought, he said it was too busy and his eyes couldn't focus!?  And suggested black & white.  I sulked, because I had no yardage of black and white.  Or did I?  I remembered I had some Waterfront Park domino dots, and quickly chopped it up and put it to work.  I LOVE it!

Modern Medallion

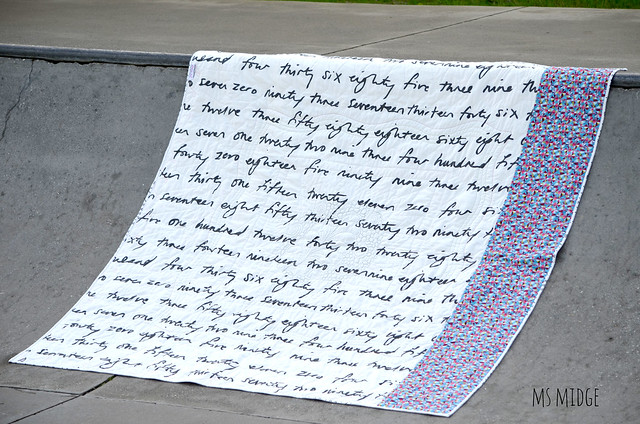
I love that the back fits in with the low volume scheme of things.  But am petrified at how grubby it will get whilst being used and loved!

Modern Medallion

And the glorious backside.  I had grand GRAND plans of using an amazing OOP AMH fabric.  But when I laid it all out - I didn't have enough!!!  Cue more sulking.  Then cue plan B....which entailed a quick trip to Ikea, solely for the purpose of this numbers print.  And in breaking news - I walked out of there ONLY with the fabric!  Unheard of.  Back to the backing......  I love the blue pinwheels down the side.  Love.  Have I said Love enough?

Modern Medallion

Le sigh.  I'd like to take this opportunity to thank Crystal for making her quilt and putting the call out for bloggers to join in the hop.  This quilt tested ALL of my quilting skills and patience - but I'm glad I persevered!  And I'd also like to thank Angie from Gnome Angel for making me laugh throughout!  And last but not least - I'd like to thank my husband!  Who, for the first time in my quilting history, had more to say about this quilt than any other.  And he used actual adjectives - lots of them!  This quilt is now His.  Well - Ours.

Now it's your turn to link up your progress! There's a linky down the bottom there for you to join up.  Make sure you drop in and leave a comment on everyone's blogs!  Encouragement is a quilter's best friend!


Monday, June 9, 2014

No Waste Drunken Geese Tutorial

Welcome to week two of the Modern Medallion Quilt Along!  I'm here to help you through the next couple of steps.  By now, you should have your New York Beauty Contest done and dusted, and looking to get your plain Jane border and  drunken geese on.  Now, I'll be perfectly honest here, and tell you that I just couldn't figure out how to do the wrap around method for the plain Jane border!  I read the pattern multiple times, but it just wouldn't click.  So I did a regular border.  BUT, I did figure it out eventually, and attached my drunken geese border wrap around style!  So I will share a quick tutorial for that method tomorrow.

For now - let's make some geese - NO WASTE style!  I decided to figure out the no waste method for these little blocks, basically because I started hyperventilating about wasting lots of my precious AMH fabric.  After some searching of the net and desperate search for the mathematical part of my brain, I came up with this...


DSC_0375

Cut yourself 20 Large squares of your coloured fabrics - 4 3/4".  These will become your triangles (geese).

DSC_0376

Then attack your low volume stash and cut out 80 Small squares - 2 5/8" (these become the outers of your geese).

DSC_0377

Draw a line diagonally on every single low volume square.  


DSC_0380

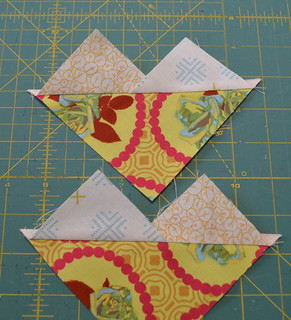
Place two of your low volume squares over your large square like so.  Making sure your diagonal lines match up with your corners and eachother.  

DSC_0384

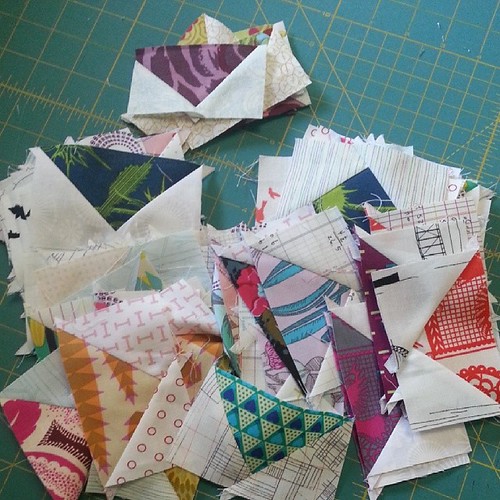
Sew 1/4" on either side of your diagonal line (chain piecing works wonderfully with this technique and saves a whole lot of time!  And makes some literal flying geese - see below!).  Then cut straight through the middle on the drawn line.

DSC_0400


DSC_0385

Press them to the side like above.

DSC_0386

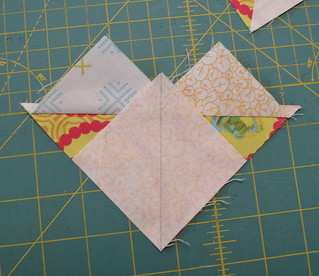
Take another low vol square and place it on top like above.  Once again lining up your diagonal line.  Sew 1/4" on either side of your line, and then cut through the middle again.

DSC_0388

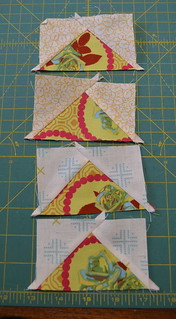
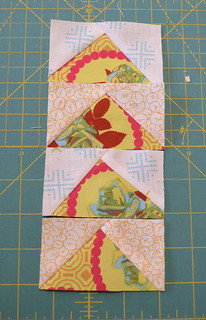
And once pressed - you will have four flying geese from each block!  Now to make them wonky....

DSC_0390

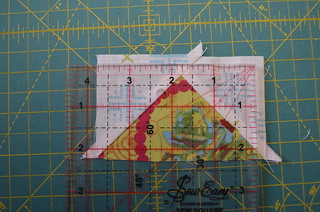
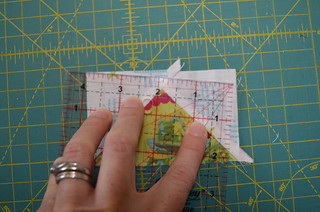
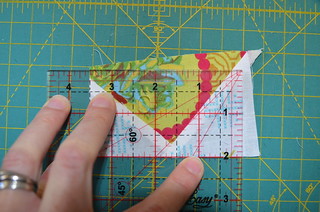
As you can see, your geese end up 4" x 2.5".  We want them to end up a finished size of 2" x 3.5", so you have a little room to work with.   Take your ruler - the smaller the better, this is a 4.5" square - and position it on top of your block.  If you want to keep the points of your geese intact, ensure you have a 1/4" above the point.

DSC_0392

Then turn your ruler in any direction you wish - as long as you have 4" in width and 2" in height.  Trim these two sides.

DSC_0394

Flip your goose around and then square it up, lining up the two sides you have already trimmed with your finished size on your ruler.  Now trim the other two sides.

DSC_0395

And HELLO wonky geese!  This tutorial will yield 80 of these suckers for you!  And I can tell you I had all 80 geese done and dusted within a day.  Winning!

Honk honk! 80 little geese ready to be wonkified! #modernmedallion #modernmedallionquiltalong

I hope you found this helpful and look forward to seeing a whole lot of drunk geese getting around!  Remember to check back in a couple of days, when I share the wrap around border tutorial!


Sunday, May 25, 2014

Sunday Stash & Dash - AMH

My addiction to all things AMH has picked up pace this year.  I have been ordering 1/4 yards here and there when I find some Innocent Crush in a store.  I've been gifted some charm squares including Folk Tale from a lovely IG friend and well, just a couple of weeks ago, I decided I would use some of the money I made from my last quilt sale to just jump right in....

Oohoohooh look what just arrived @acraftyfox_amanda Who wants to see? !?#westwoodacres

This bundle of happiness arrived with perfect timing on Wednesday morning.  Three fat 1/8th bundles from Westwood Acres.

And just like that. .i have 3 complete @annamariahorner lines! #prettypotent #dowry #handdrawngarden sooooo excited! !

Dowry, Hand Drawn Garden and the new Pretty Potent.  I have to tell you - arranging these beauties like so was a pleasure.  Simply divine.  Their perfect arrival meant I could cut straight in to them!  I had 80 drunk geese to make, and they were all made that day!

Trying to choose two fabrics for the next two borders? ! #whydoesitallhavetobesopretty #modernmedallion #amh @annamariahorner

And on Thursday, I had to choose fabrics for my curved borders.  I turned the decision over to my IG folk after I pulled out all yardage of AMH I had on my shelves.  (There were a few more prints, but they weren't in the running).

AMH Borders

And these were the most popular (and my) choices.  This Modern Medallion quilt is beyond yummy.  It it shaping up to be in the running for my all time favourite quilt - and has already won my husband's heart.  Although Andrew always says my quilts are great - I got actual sentences out of him the other day upon showing him progress.  "That's more modern, I like that style better".  Ok then!

My low volume stash is taking a massive hit through this quilt's construction, but I am every so grateful right now for my ahemmmm addiction to fabric purchasing.

I'm linking up - You can too!


Molli Sparkles

FYI - The Modern Medallion Quilt pattern is now available for instant download purchase HERE.  Go get yours so you can join in the quilt along fun in June!
Related Posts Plugin for WordPress, Blogger...