Showing posts with label Modern Medallion. Show all posts

Friday, June 13, 2014

Modern Medallion Finish!

It is my day to wrap up this week on the Modern Medallion Quilt Along.  I got it stuck in my head a week or so ago that I would get it finished to show you all - and I meant, you know, a quilt top.  BUT - my "focus" (as my Wombat Stew friends so graciously call it) kicked in yesterday, and I put in a marathon effort.  I had it basted by lunchtime, and then put my foot down at 12.30pm.  Quilted by 5.15pm (bloody basketball training) and then did the binding at 10pm!  

I am SOOOOO absolutely thrilled with the end result, and am so glad that I took this project on.  I was really questioning my sanity on the first day - and many days through the process - but it has taught me a lot about my quilty self.  Firstly - I am not really an "improv" kinda gal.  I'm also not a "wonky" chick.  BUT - I am adaptable!

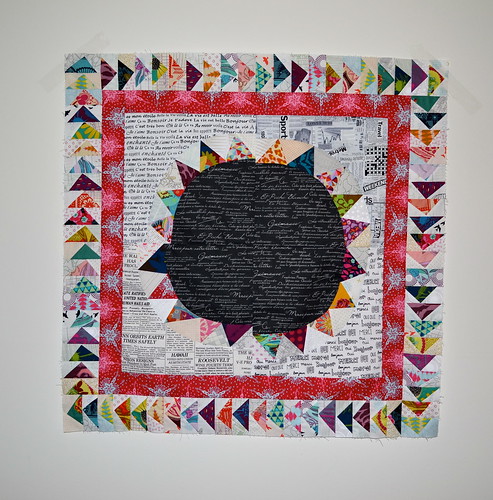
Without further ado, here my lovely friends, is my Modern Medallion Quilt - Anna Maria Horner style...
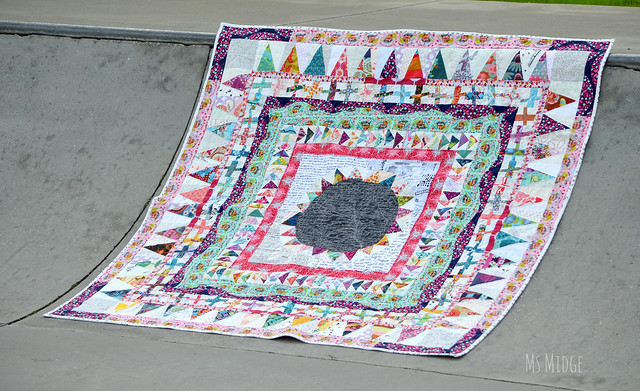
Modern Medallion

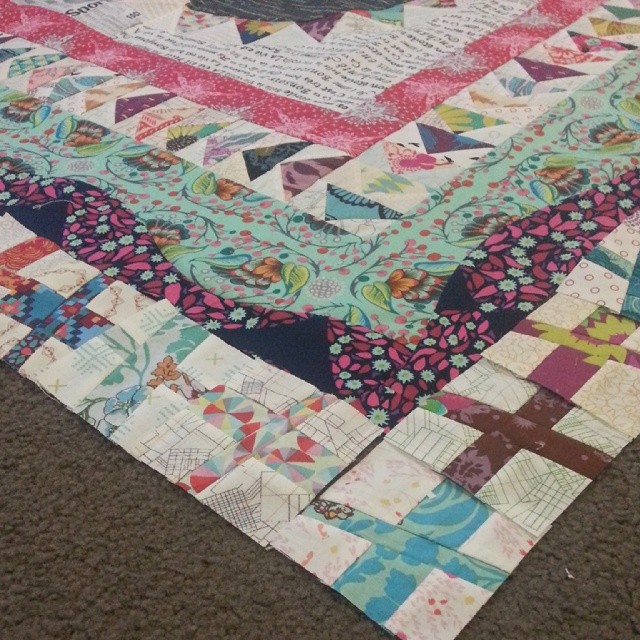
Isn't she beautiful?  ALL of the prints are Anna Maria Horner.  I think there are six fabric collections in total used.  And a good majority of the low volume prints are from Carolyn Friedlander's Architextures and Botanics ranges.  The finished size is 66" or 167cm square.  Backing fabric from Ikea & Field Study by AMH.  All pieced and quilted using Aurifil threads.
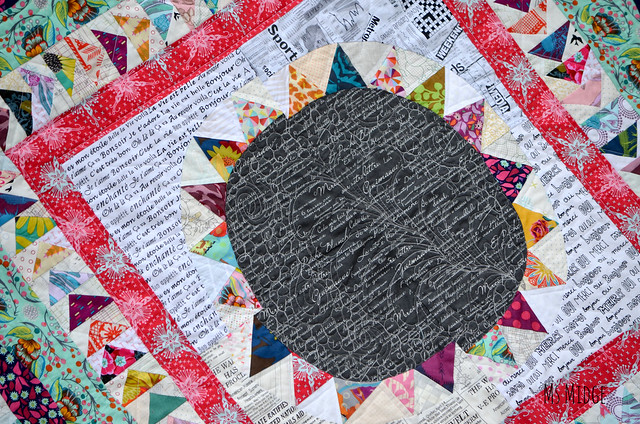
Modern Medallion 

As per usual, I had no idea how I was going to quilt it, until the time came to quilt it.  I quite literally basted it all over the show, with no purpose other than to keep it together.  Then I rolled it up and sat at my machine.  And started with the centre medallion.  I used a beautiful variegated grey Aurifil 40wt thread, which you obviously can't see here, but will see later down the photo call.  One giant feather (well my feathers still look a bit like palm prongs!) and lots of little pebbles with swirls.  I will tell you now, it is FAR from perfect, but given the size of this giant, I tried my hardest to go slowly and to persevere.  I was NOT giving up on my FMQ dreams for this little lady.

On the outer points of the NYB triangles, I changed to my favourite #2024 white thread and free motioned straight-ish lines.  I've never FMQ'd straight-ish lines, but thought given the improv-ness (is that even a word!?!?) of the quilt, it would fit in well.  And it does!
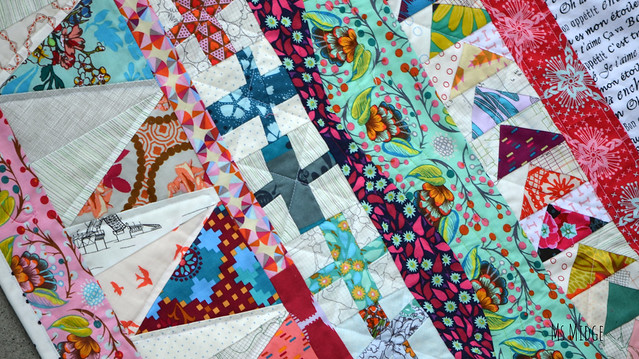
Modern Medallion

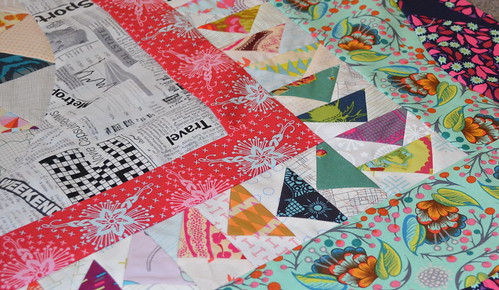
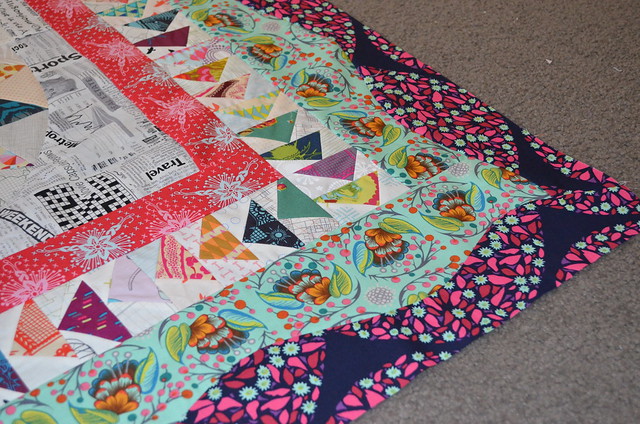
Each border has a different quilting finish.  The red border has straight lines, wonky geese have a giant zip-zag.  My curved borders are divine.  The green has a yummy bright green Aurifil, echoing the curves.  And the blue has a hot pink doing the same.  It's much more fabulous from the back!  The wonky crosses got some cross-hatched action and the triangles, some more FMQ straight-ish lines.  And last but not least, the outside border is done using a variegated pink Aurifil, with some swirls.
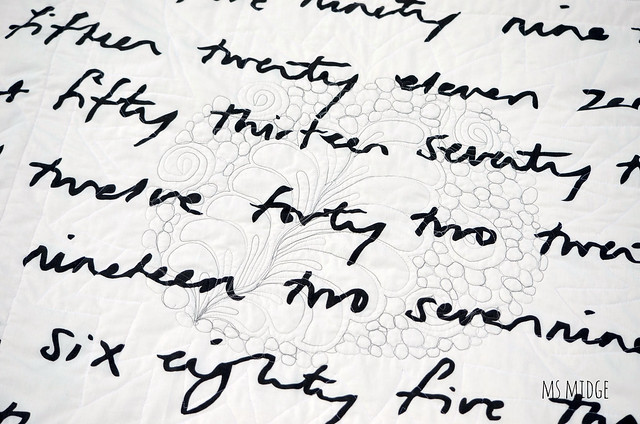
Modern Medallion 

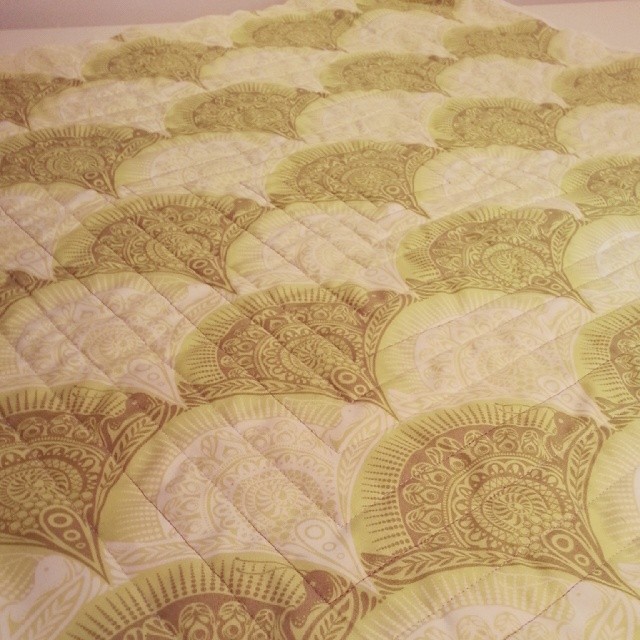
A little close up of the quilting on the back.  As I said - far from perfect, but imperfectly perfect in my eyes.
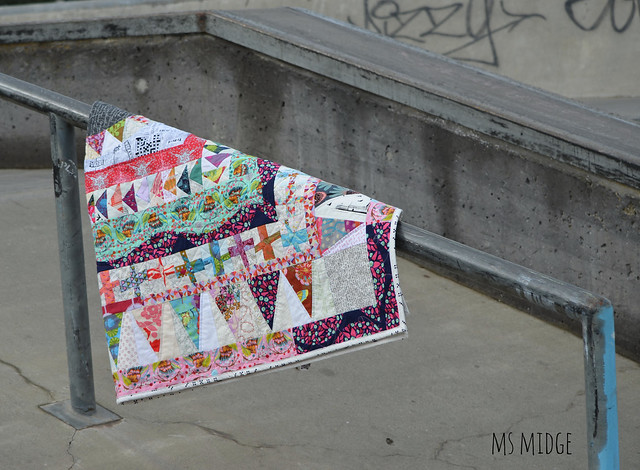
Modern Medallion

Just hanging around.....  I loved photographing this!  I stopped at the local skate park - lunchtime Friday - and there was a lone teenager sullenly watching me climbing up and down skate bowls and ramps in a dress, tights and boots!  I just kept wondering why he wasn't at school.....  Anyway - the binding......  I had another AMH print pencilled in for the binding, but when I asked my husband last night what he thought, he said it was too busy and his eyes couldn't focus!?  And suggested black & white.  I sulked, because I had no yardage of black and white.  Or did I?  I remembered I had some Waterfront Park domino dots, and quickly chopped it up and put it to work.  I LOVE it!
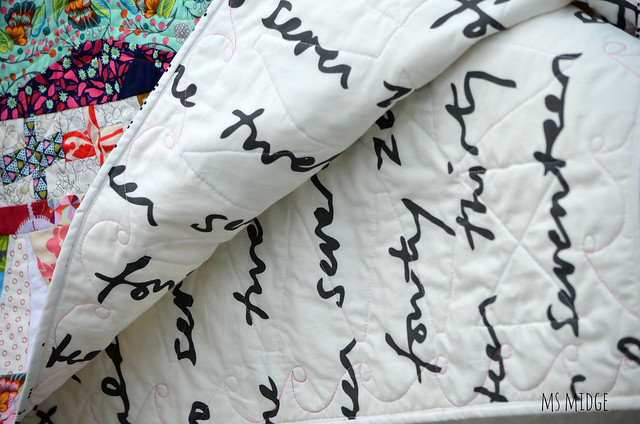
Modern Medallion

I love that the back fits in with the low volume scheme of things.  But am petrified at how grubby it will get whilst being used and loved!
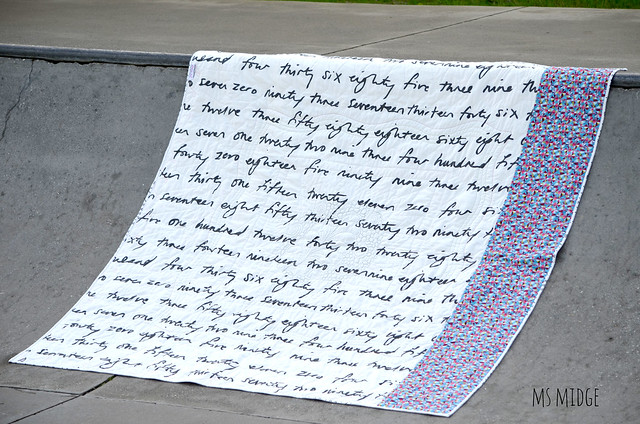
Modern Medallion

And the glorious backside.  I had grand GRAND plans of using an amazing OOP AMH fabric.  But when I laid it all out - I didn't have enough!!!  Cue more sulking.  Then cue plan B....which entailed a quick trip to Ikea, solely for the purpose of this numbers print.  And in breaking news - I walked out of there ONLY with the fabric!  Unheard of.  Back to the backing......  I love the blue pinwheels down the side.  Love.  Have I said Love enough?
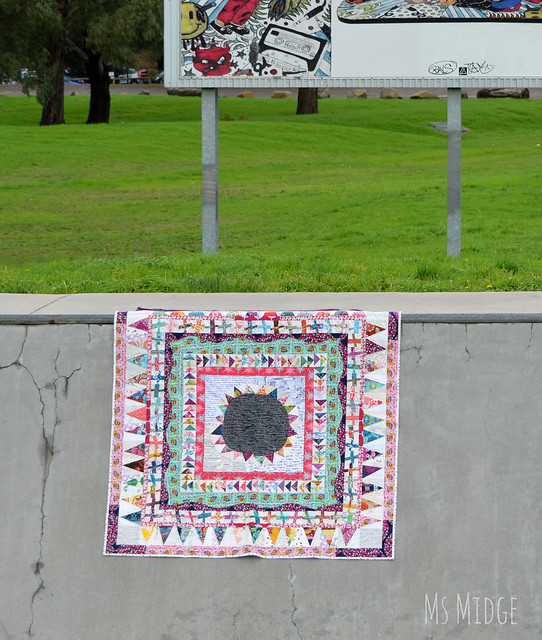
Modern Medallion

Le sigh.  I'd like to take this opportunity to thank Crystal for making her quilt and putting the call out for bloggers to join in the hop.  This quilt tested ALL of my quilting skills and patience - but I'm glad I persevered!  And I'd also like to thank Angie from Gnome Angel for making me laugh throughout!  And last but not least - I'd like to thank my husband!  Who, for the first time in my quilting history, had more to say about this quilt than any other.  And he used actual adjectives - lots of them!  This quilt is now His.  Well - Ours.

Now it's your turn to link up your progress! There's a linky down the bottom there for you to join up.  Make sure you drop in and leave a comment on everyone's blogs!  Encouragement is a quilter's best friend!


Tuesday, June 10, 2014

Wrap Around Border Tutorial

During the construction of my Modern Medallion, I was instructed to do a "wrap around border".  Hmmmm.....  After much huffing and puffing and trying to work out how to do it, I gave up!  And I just did a regular border for the first one.  But when it came to attaching my drunken geese border, I was determined to figure it out.  So I thought I'd give you a very quick tutorial on how I did it.

DSC_0404

First thing to do is pin your first border on.  Starting at the end you will begin sewing at.  I'm not a big "pinner", so pin about every 10 inches or so.

DSC_0405

Your border will be a few inches longer than your quilt top.  You want to sew the border on all the way towards the end, but then stop a couple of inches before the end!

DSC_0406

Fold back the border you've just sewn, exposing the next side of the quilt.

DSC_0407

And pin your next border on.

DSC_0408

Sew it on - the same as the last one, so leaving a couple of inches unsewn.  

DSC_0409

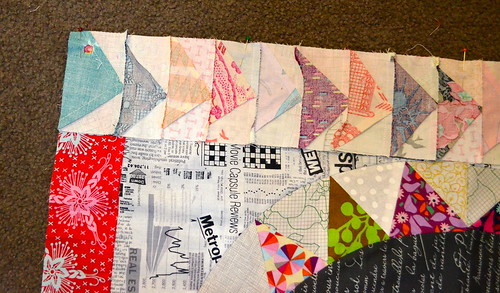
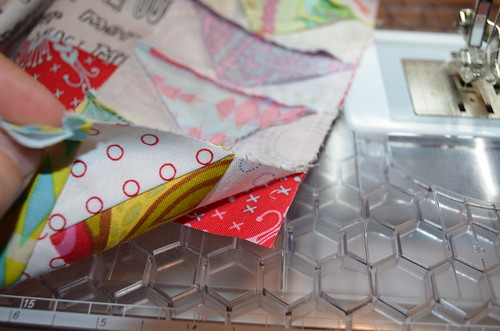
Then you take your first border and place it over the second border like above photo.  Then sew the remaining few inches of that first border over the top of the second one!  Continue this with all four borders.

DSC_0366

And press it down!  Sneak peek here at my curvy border!

DSC_0413

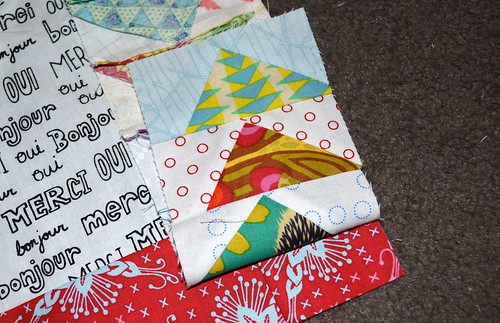
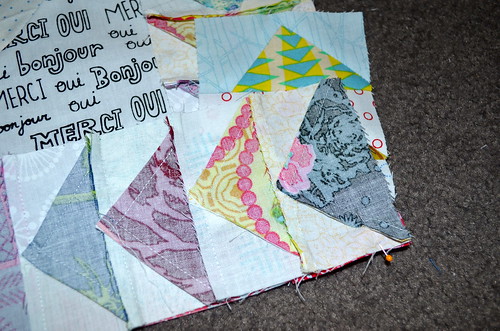
And hello!!  You have a wrap around drunken geese border!

It's actually incredibly easy once you've wrapped your head around it!  I hope you've found this helpful!

I finished my quilt top this afternoon.......and am hoping to have a big fat reveal here on Friday - so be sure to pop back in!

Monday, June 9, 2014

No Waste Drunken Geese Tutorial

Welcome to week two of the Modern Medallion Quilt Along!  I'm here to help you through the next couple of steps.  By now, you should have your New York Beauty Contest done and dusted, and looking to get your plain Jane border and  drunken geese on.  Now, I'll be perfectly honest here, and tell you that I just couldn't figure out how to do the wrap around method for the plain Jane border!  I read the pattern multiple times, but it just wouldn't click.  So I did a regular border.  BUT, I did figure it out eventually, and attached my drunken geese border wrap around style!  So I will share a quick tutorial for that method tomorrow.

For now - let's make some geese - NO WASTE style!  I decided to figure out the no waste method for these little blocks, basically because I started hyperventilating about wasting lots of my precious AMH fabric.  After some searching of the net and desperate search for the mathematical part of my brain, I came up with this...


DSC_0375

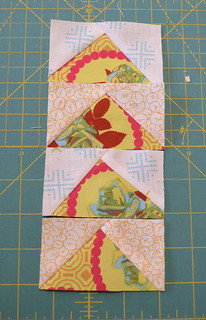
Cut yourself 20 Large squares of your coloured fabrics - 4 3/4".  These will become your triangles (geese).

DSC_0376

Then attack your low volume stash and cut out 80 Small squares - 2 5/8" (these become the outers of your geese).

DSC_0377

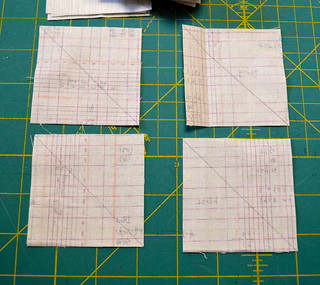
Draw a line diagonally on every single low volume square.  


DSC_0380

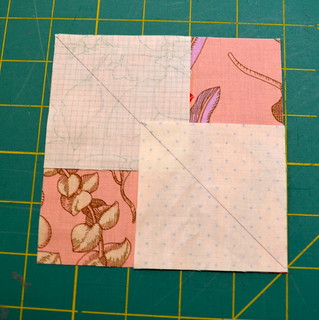
Place two of your low volume squares over your large square like so.  Making sure your diagonal lines match up with your corners and eachother.  

DSC_0384

Sew 1/4" on either side of your diagonal line (chain piecing works wonderfully with this technique and saves a whole lot of time!  And makes some literal flying geese - see below!).  Then cut straight through the middle on the drawn line.

DSC_0400


DSC_0385

Press them to the side like above.

DSC_0386

Take another low vol square and place it on top like above.  Once again lining up your diagonal line.  Sew 1/4" on either side of your line, and then cut through the middle again.

DSC_0388

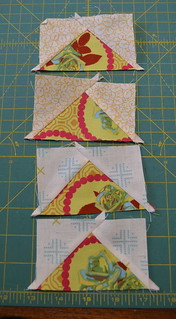
And once pressed - you will have four flying geese from each block!  Now to make them wonky....

DSC_0390

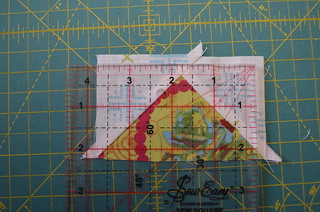
As you can see, your geese end up 4" x 2.5".  We want them to end up a finished size of 2" x 3.5", so you have a little room to work with.   Take your ruler - the smaller the better, this is a 4.5" square - and position it on top of your block.  If you want to keep the points of your geese intact, ensure you have a 1/4" above the point.

DSC_0392

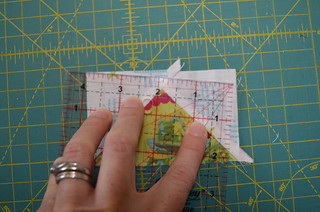
Then turn your ruler in any direction you wish - as long as you have 4" in width and 2" in height.  Trim these two sides.

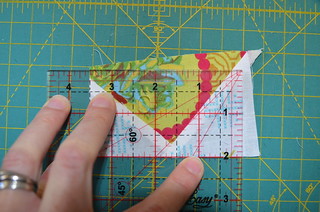
DSC_0394

Flip your goose around and then square it up, lining up the two sides you have already trimmed with your finished size on your ruler.  Now trim the other two sides.

DSC_0395

And HELLO wonky geese!  This tutorial will yield 80 of these suckers for you!  And I can tell you I had all 80 geese done and dusted within a day.  Winning!

Honk honk! 80 little geese ready to be wonkified! #modernmedallion #modernmedallionquiltalong

I hope you found this helpful and look forward to seeing a whole lot of drunk geese getting around!  Remember to check back in a couple of days, when I share the wrap around border tutorial!


Friday, June 6, 2014

Modern Medallion Quilt Along - Week One

This week has brought the beginning of the Modern Medallion Quilt Along!  And for those of you playing along, I thought I'd give you a quick rundown of how the first step of this pattern went for me, along with a couple of tips/pointers.

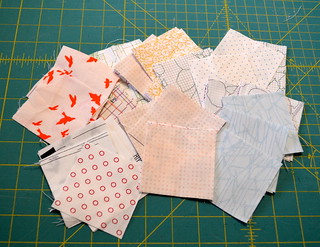
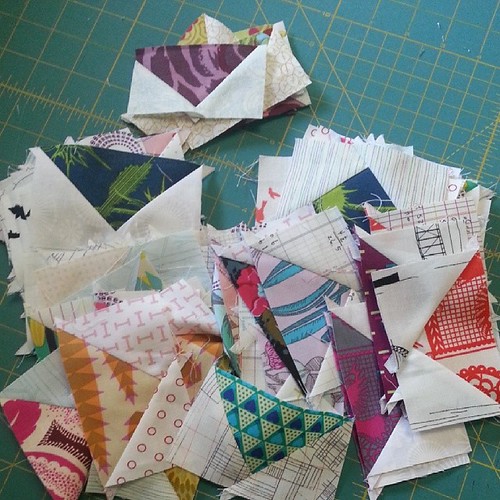
First of all - make sure if you are using low volume fabrics in your quilt that you have a TONNE of them!  I was really worried about not having enough, until I did my fabric pull and found 37 fat quarters!  Doh!  I am at the finish line now and can tell you that I have used half to three quarters of each fat quarter!  That's a lot of low volume!

I spent some time yesterday worrying about my perceived lack of low volume fabrics, given how much I'll need for my #modernmedallion quilt. Ummmm..... 10 minutes in the stash produced these. .... do you think I'll be right @2littleausbirds lol. #thankgodf

If you are unsure what qualifies as low volume, here's my take - any pale/light background fabric that has a print on it!  So they could be anything from white to pink/blue etc, as long as they are a pale tone.  One trick to help can be taking a photo of your fabrics, then editing it to black and white, and you will be able to pick out the lighter and darker tones.

Now, on to the construction.

Ok @2littleausbirds @gnomeangel I've put aside my freakin out and come up with these!  #fingerscrossed #modernmedallionquiltalong 

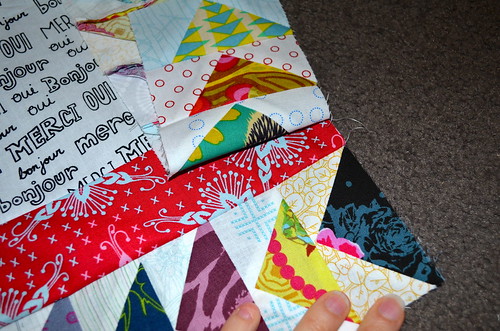
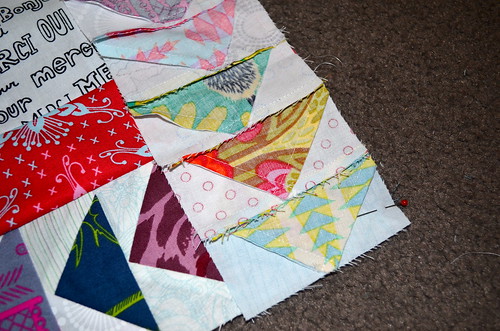
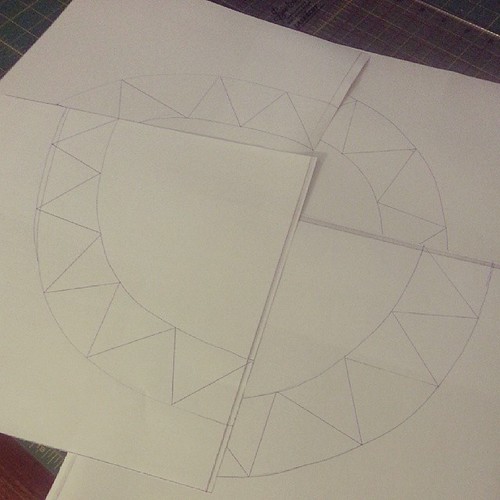
The pattern calls for lots of Improvisation piecing and wonkiness.  I can tell you now that this has been incredibly difficult for me to embrace!  Drawing up my NYB Contest paper piecing patterns was excruciating, and took lots of patience.  I DID NOT use a compass or anything trace-able - I literally free hand drew them.  As you can obviously see above!  The one thing I could not let go however, was the points.  I am a strong believer in triangle points not being lost!!!

It's a very good thing I have to go out for lunch!  Unpicked twice and cut fabric twice....... frustrated!
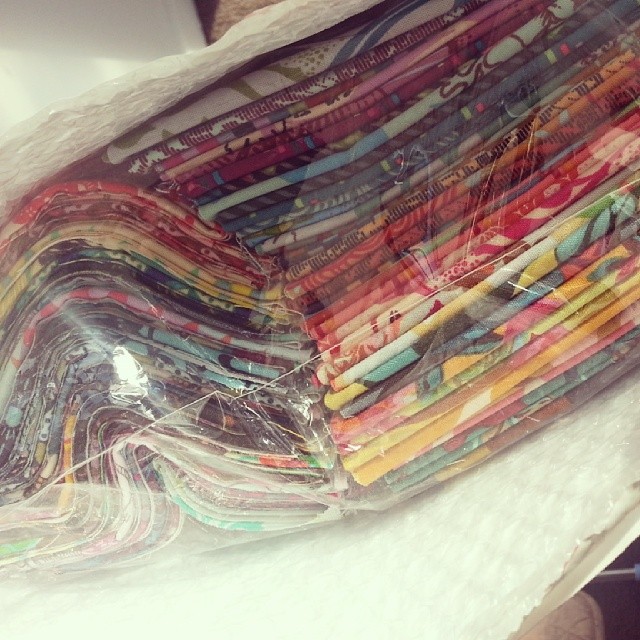
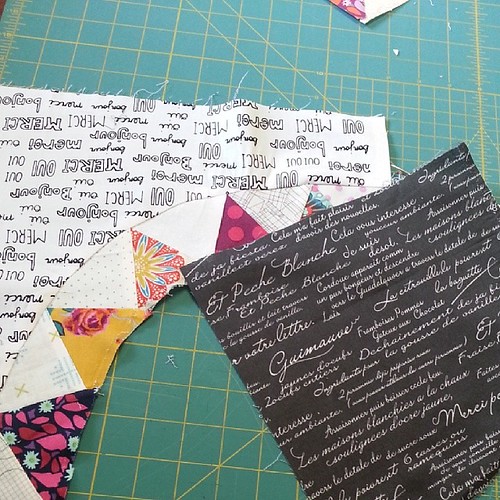
The sewing together of the arcs with triangles was super easy - I would like to think I am a pretty advanced paper piecer, so it did not worry me at all.  But the arcs.  THE ARCS!!!!!!  I am also a pretty experienced curves put-together-er, but this had me absolutely freakin stumped!  Because I had no pattern as such, I just could not get the sizing of the fabric pieces correct, and was incredibly grateful for a two hour lunch date with a friend that day.  I'd already unpicked the black centre piece twice before lunch, but returned home with a calmer exterior and curved the s*it out of it!!
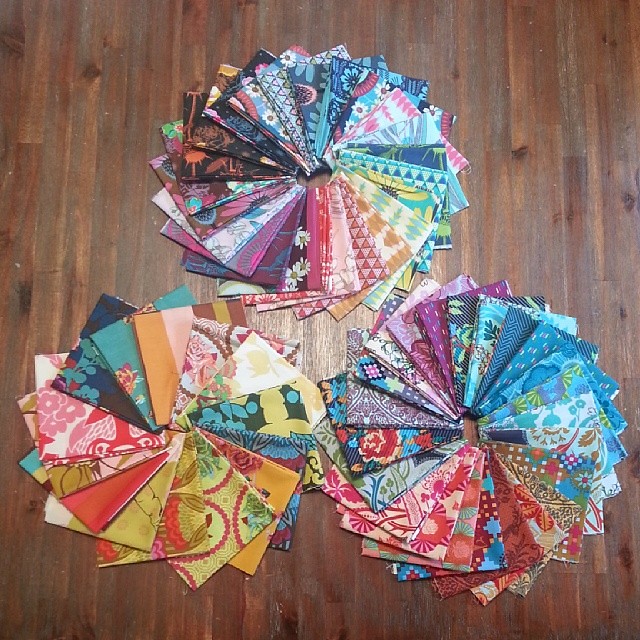
So my biggest tip for this part of the pattern - PATIENCE.  Take is slow.  Have your unpicker close by ;)

This is how my centre medallion looked when finished....


As you can see - the wonkiness was well and truly pulled off!  If I had to do it again, I think I would have used four different fabrics for the centre pieces - but - I still love it!

Pop over to Schnitzel & Boo later on today, where Kristi will share her week of 
Modern-Medallion-ing!

And if you stop by here on Monday, I will have a tutorial for you for the drunken geese border!  Have a fabulous weekend! xxx

Wednesday, May 28, 2014

W.I.P. Wednesday - Gonna Put This Song On Replay

For it seems this is going to be an ongoing story for me this year!  The quilter's ADHD has kicked in full force and I'm getting through my list of projects whilst I have some time off work here and there.  Here's a bunch of goodies I've been working on this past week..... {Photos Care of IG}


Almost hyperventilating with excitement! ! Once again the kids need for food trumps my need to sew these into rows!  #modernmedallion  #modernmedallionquiltalong

I've actually sewn all 80 of these wonky crosses on to my Modern Medallion, but have not had the time nor inclination to get out my good camera!  I can reassure you it looks freakin awesome!

Just put some of my #qcabee5 blocks together! This #radiatingsparkler block will be up on the blog this week so everyone can make their own! @katespain ♡♥

My QCA Bee #5 gals have delivered the goods, and I've sewn together these divine Radiating Sparkler blocks!  I have to expand the quilt top further to make it a decent size, but that will be done soon-ish-ly.  The tutorial for this block will be up here on the blog by the weekend!  Promise!

#quilted #justneedsbinding #iwannadosomethingelse

I quilted my little Vintage Modern quilt yesterday.  And whilst at it realised I had lost my FMQ-jo.  That's right - I just can't get my s*it together enough at the moment to free motion anything larger than a bloody cushion!  Sigh.  Anyway, just need to bind this baby!

Omg @quiltjane these #nestedchurndash blocks are freakin huge!!!! #thinkingillstophere #schnitzelandboominiquiltswap

I started my mini quilt for the Schnitzel & Boo mini quilt swap!

#justneedsbinding #schnitzelandboominiquiltswap

And also managed to quilt it.  Another project that just needs binding.  I adore the nested churn dash pattern by Quilt Jane.  Seriously, go get yourself one!

And just because I have a list a mile long.....another project started...... #pinkgoldpearlshowcase

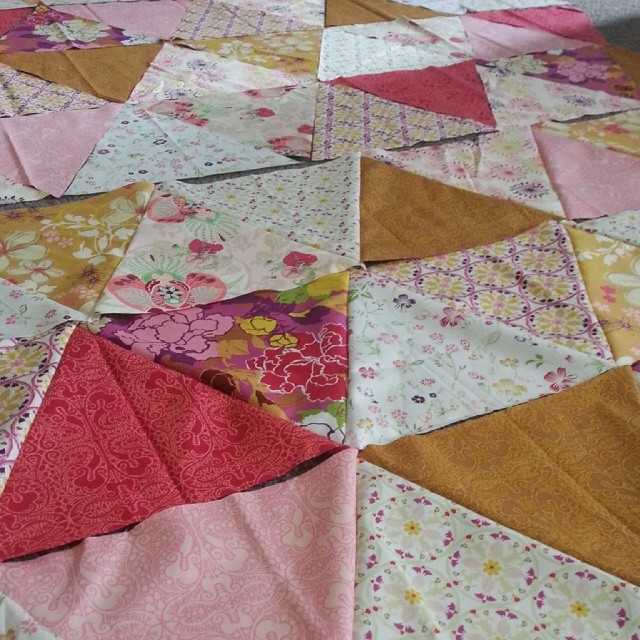
And lastly - I started this project this afternoon.  Big 9" triangles in Pink, gold and Pearl for a special upcoming showcase.  I've had to refer back to my Triangle Tips post!  I have never made an entire quilt top using all Art Gallery fabrics.......  But may just have a new addiction.  Seriously yummy piece of work!

Phew.  Another week, another million projects!

I'm linking up with Freshly Pieced & Little White Dove - You can too!


Little White Dove

Sunday, May 25, 2014

Sunday Stash & Dash - AMH

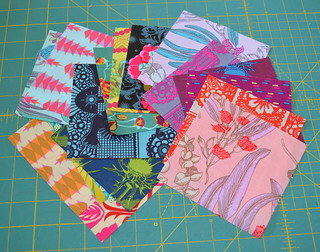
My addiction to all things AMH has picked up pace this year.  I have been ordering 1/4 yards here and there when I find some Innocent Crush in a store.  I've been gifted some charm squares including Folk Tale from a lovely IG friend and well, just a couple of weeks ago, I decided I would use some of the money I made from my last quilt sale to just jump right in....

Oohoohooh look what just arrived @acraftyfox_amanda Who wants to see? !?#westwoodacres

This bundle of happiness arrived with perfect timing on Wednesday morning.  Three fat 1/8th bundles from Westwood Acres.

And just like that. .i have 3 complete @annamariahorner lines! #prettypotent #dowry #handdrawngarden sooooo excited! !

Dowry, Hand Drawn Garden and the new Pretty Potent.  I have to tell you - arranging these beauties like so was a pleasure.  Simply divine.  Their perfect arrival meant I could cut straight in to them!  I had 80 drunk geese to make, and they were all made that day!

Trying to choose two fabrics for the next two borders? ! #whydoesitallhavetobesopretty #modernmedallion #amh @annamariahorner

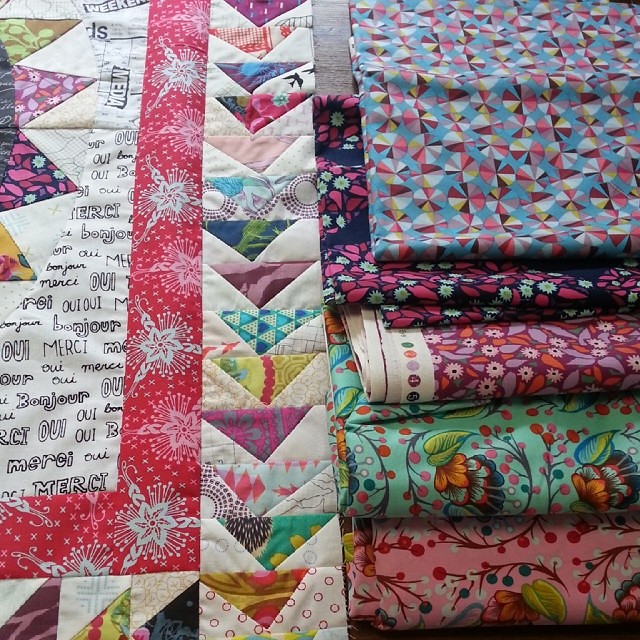
And on Thursday, I had to choose fabrics for my curved borders.  I turned the decision over to my IG folk after I pulled out all yardage of AMH I had on my shelves.  (There were a few more prints, but they weren't in the running).

AMH Borders

And these were the most popular (and my) choices.  This Modern Medallion quilt is beyond yummy.  It it shaping up to be in the running for my all time favourite quilt - and has already won my husband's heart.  Although Andrew always says my quilts are great - I got actual sentences out of him the other day upon showing him progress.  "That's more modern, I like that style better".  Ok then!

My low volume stash is taking a massive hit through this quilt's construction, but I am every so grateful right now for my ahemmmm addiction to fabric purchasing.

I'm linking up - You can too!


Molli Sparkles

FYI - The Modern Medallion Quilt pattern is now available for instant download purchase HERE.  Go get yours so you can join in the quilt along fun in June!
Related Posts Plugin for WordPress, Blogger...